Your audience in BASH
Bring existing audiences together and understand people, communities, memberships and subscriptions.
Your audience brings together the people connected to your organisation. Use Audience to bring in existing contacts, keep connected sources updated, find someone, combine related event audiences or manage a group with ongoing member access. Start with the part that matches your need; you do not need to set up every part first.
For example, you could find someone in People, group audiences from related events in a Community, and offer Memberships for access to selected quests or ticket sales. Email and WhatsApp subscriptions are checked separately from those groups.
Choose what you need
| You want to… | Start with… |
|---|---|
| Find someone or inspect your audience | Audience → People. |
| Bring existing contacts or event audiences into BASH | Add people, then choose a file, ticket provider or email-list source. |
| Manage the audiences of related events together | Audience → Communities. |
| Give a group ongoing member access | Audience → Memberships. |
| Send an announcement | Posts, where you choose access and notification channels separately. |
Someone can appear in several of these groups. Being in your audience does not itself make them a member or mean they have subscribed to email or WhatsApp updates.
People and subscriptions
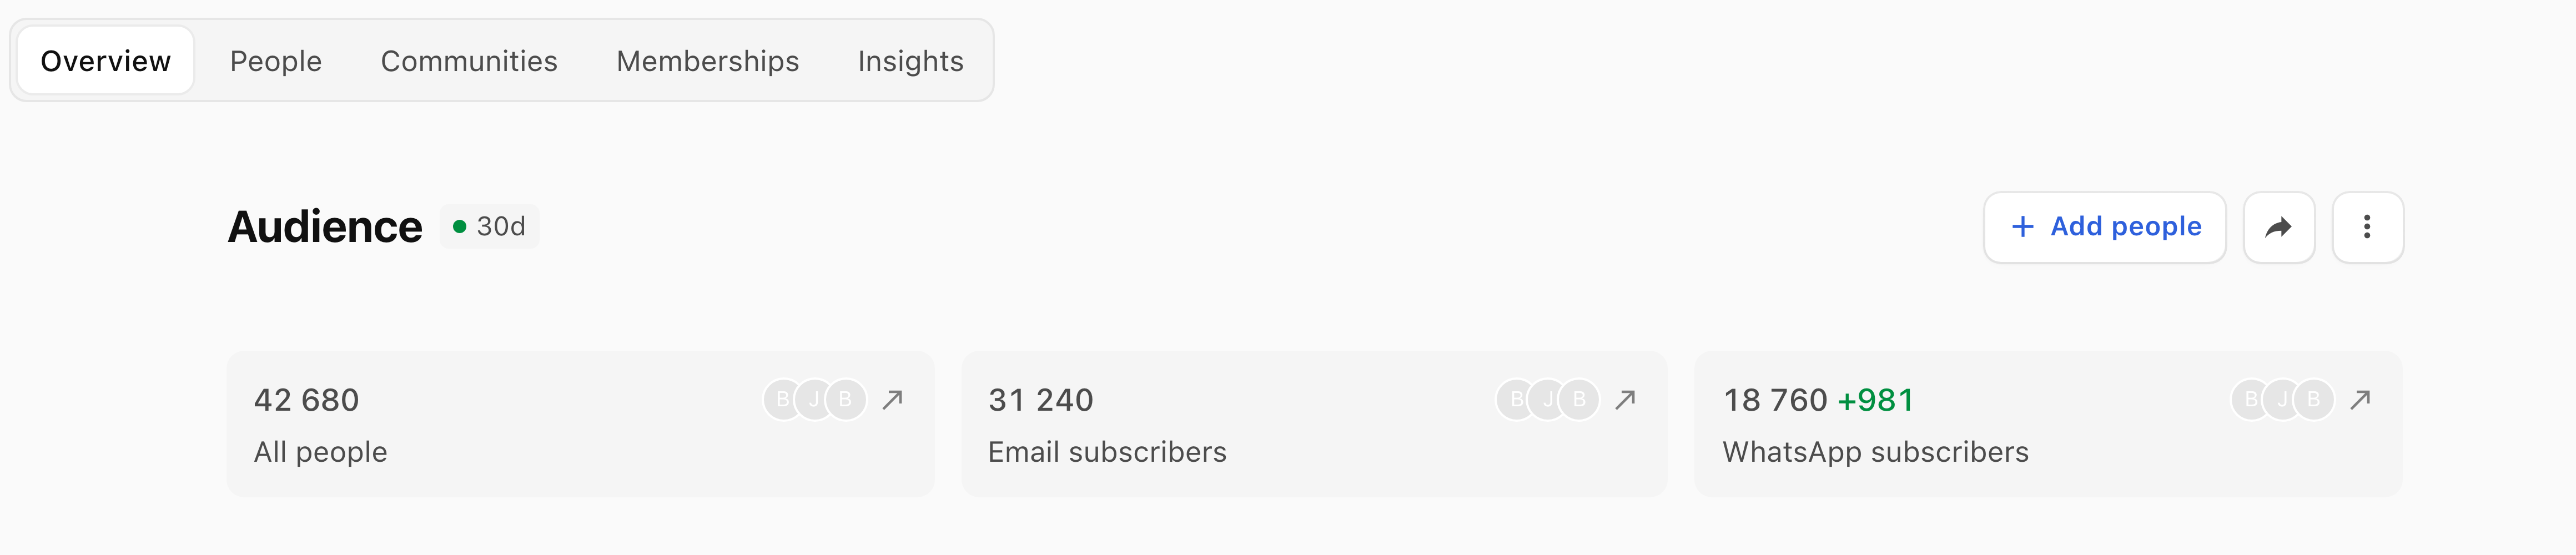
People is where you find individual audience records. Audience → Overview shows All people, Email subscribers and WhatsApp subscribers separately. These counts answer different questions; they do not need to match.
- Open Audience in the organisation you want to work with.
- Select All people, Email subscribers or WhatsApp subscribers to open the corresponding list.
- Use the search field to find a person. Open their record to inspect the available details.
Bring existing audiences into BASH
- Select Add people from Audience or People.
- Open Select source. Choose Import list for a one-time CSV or Excel import, a connected ticket-provider account for event audiences, or Brevo or Mailchimp for ongoing email-list updates when available.
- Follow Import and sync your audience for the source-specific choices, permission review and result checks.
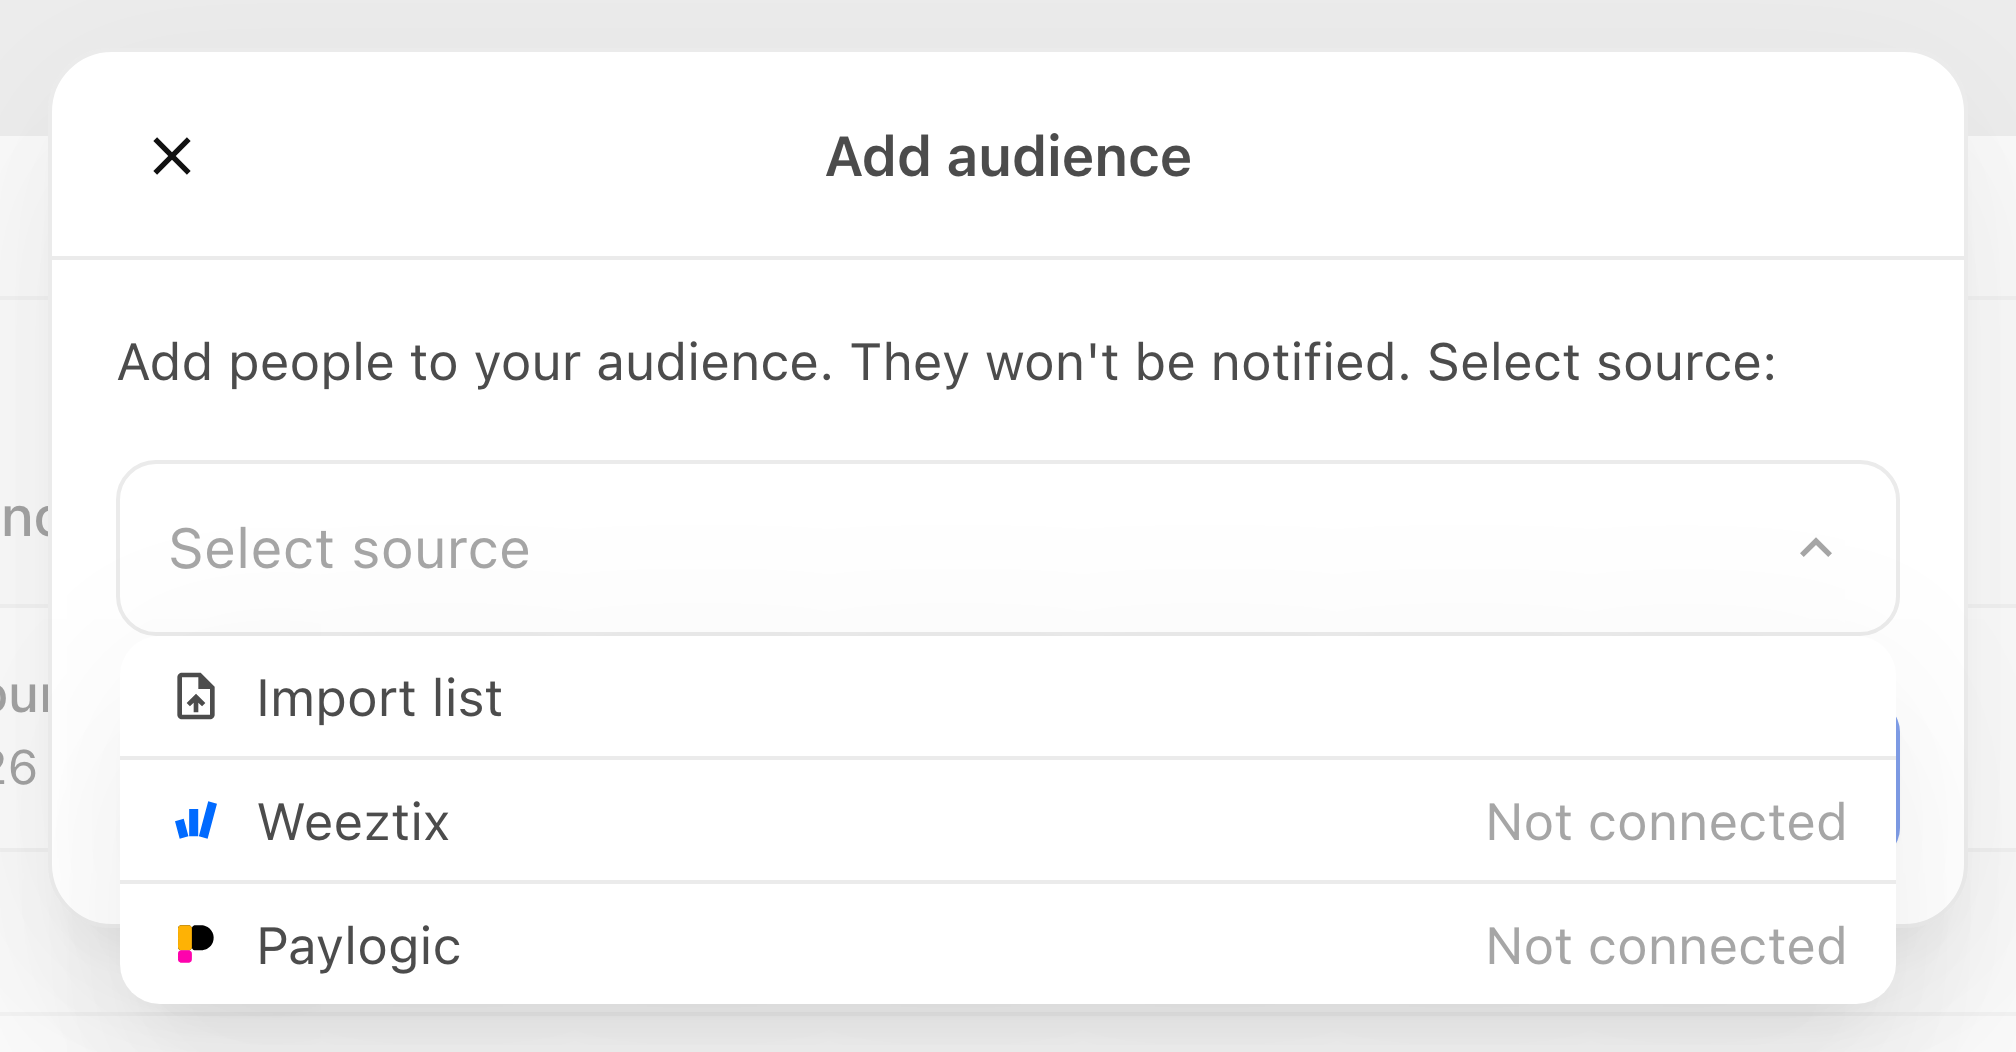
A file import is a snapshot. Connected ticket-provider audiences and selected email lists can keep updating. Choosing a community, adding an event audience and joining a membership remain separate actions.
Check the source of any subscription information you import. A contact record, a ticket purchase and an agreement to receive updates are different things. Before sending a post, check the eligible recipients and subscription controls for each channel.
Communities
A Community brings together people from related events, such as a recurring event series. Use it when you need to manage that audience separately from the rest of your organisation.
For example, you could organise several events in a recurring series within one community. This is a grouping of audiences, rather than a ticket sale or a membership.
The organisation's Community page, managed under Settings → Community page, is its wider public page. It is separate from an individual community created in Audience → Communities.
- Open Audience → Communities.
- Select Create community on an empty list, or New when communities already exist.
- In Details, enter a dashboard Name and optional Description, then select Next.
- In Visibility, choose Public with identity or Internal-only. A public community has its own public name and logo, lets people sign up and can be the sender of posts. An internal community groups people within your dashboard.
- Select Next and check Review before selecting Create.
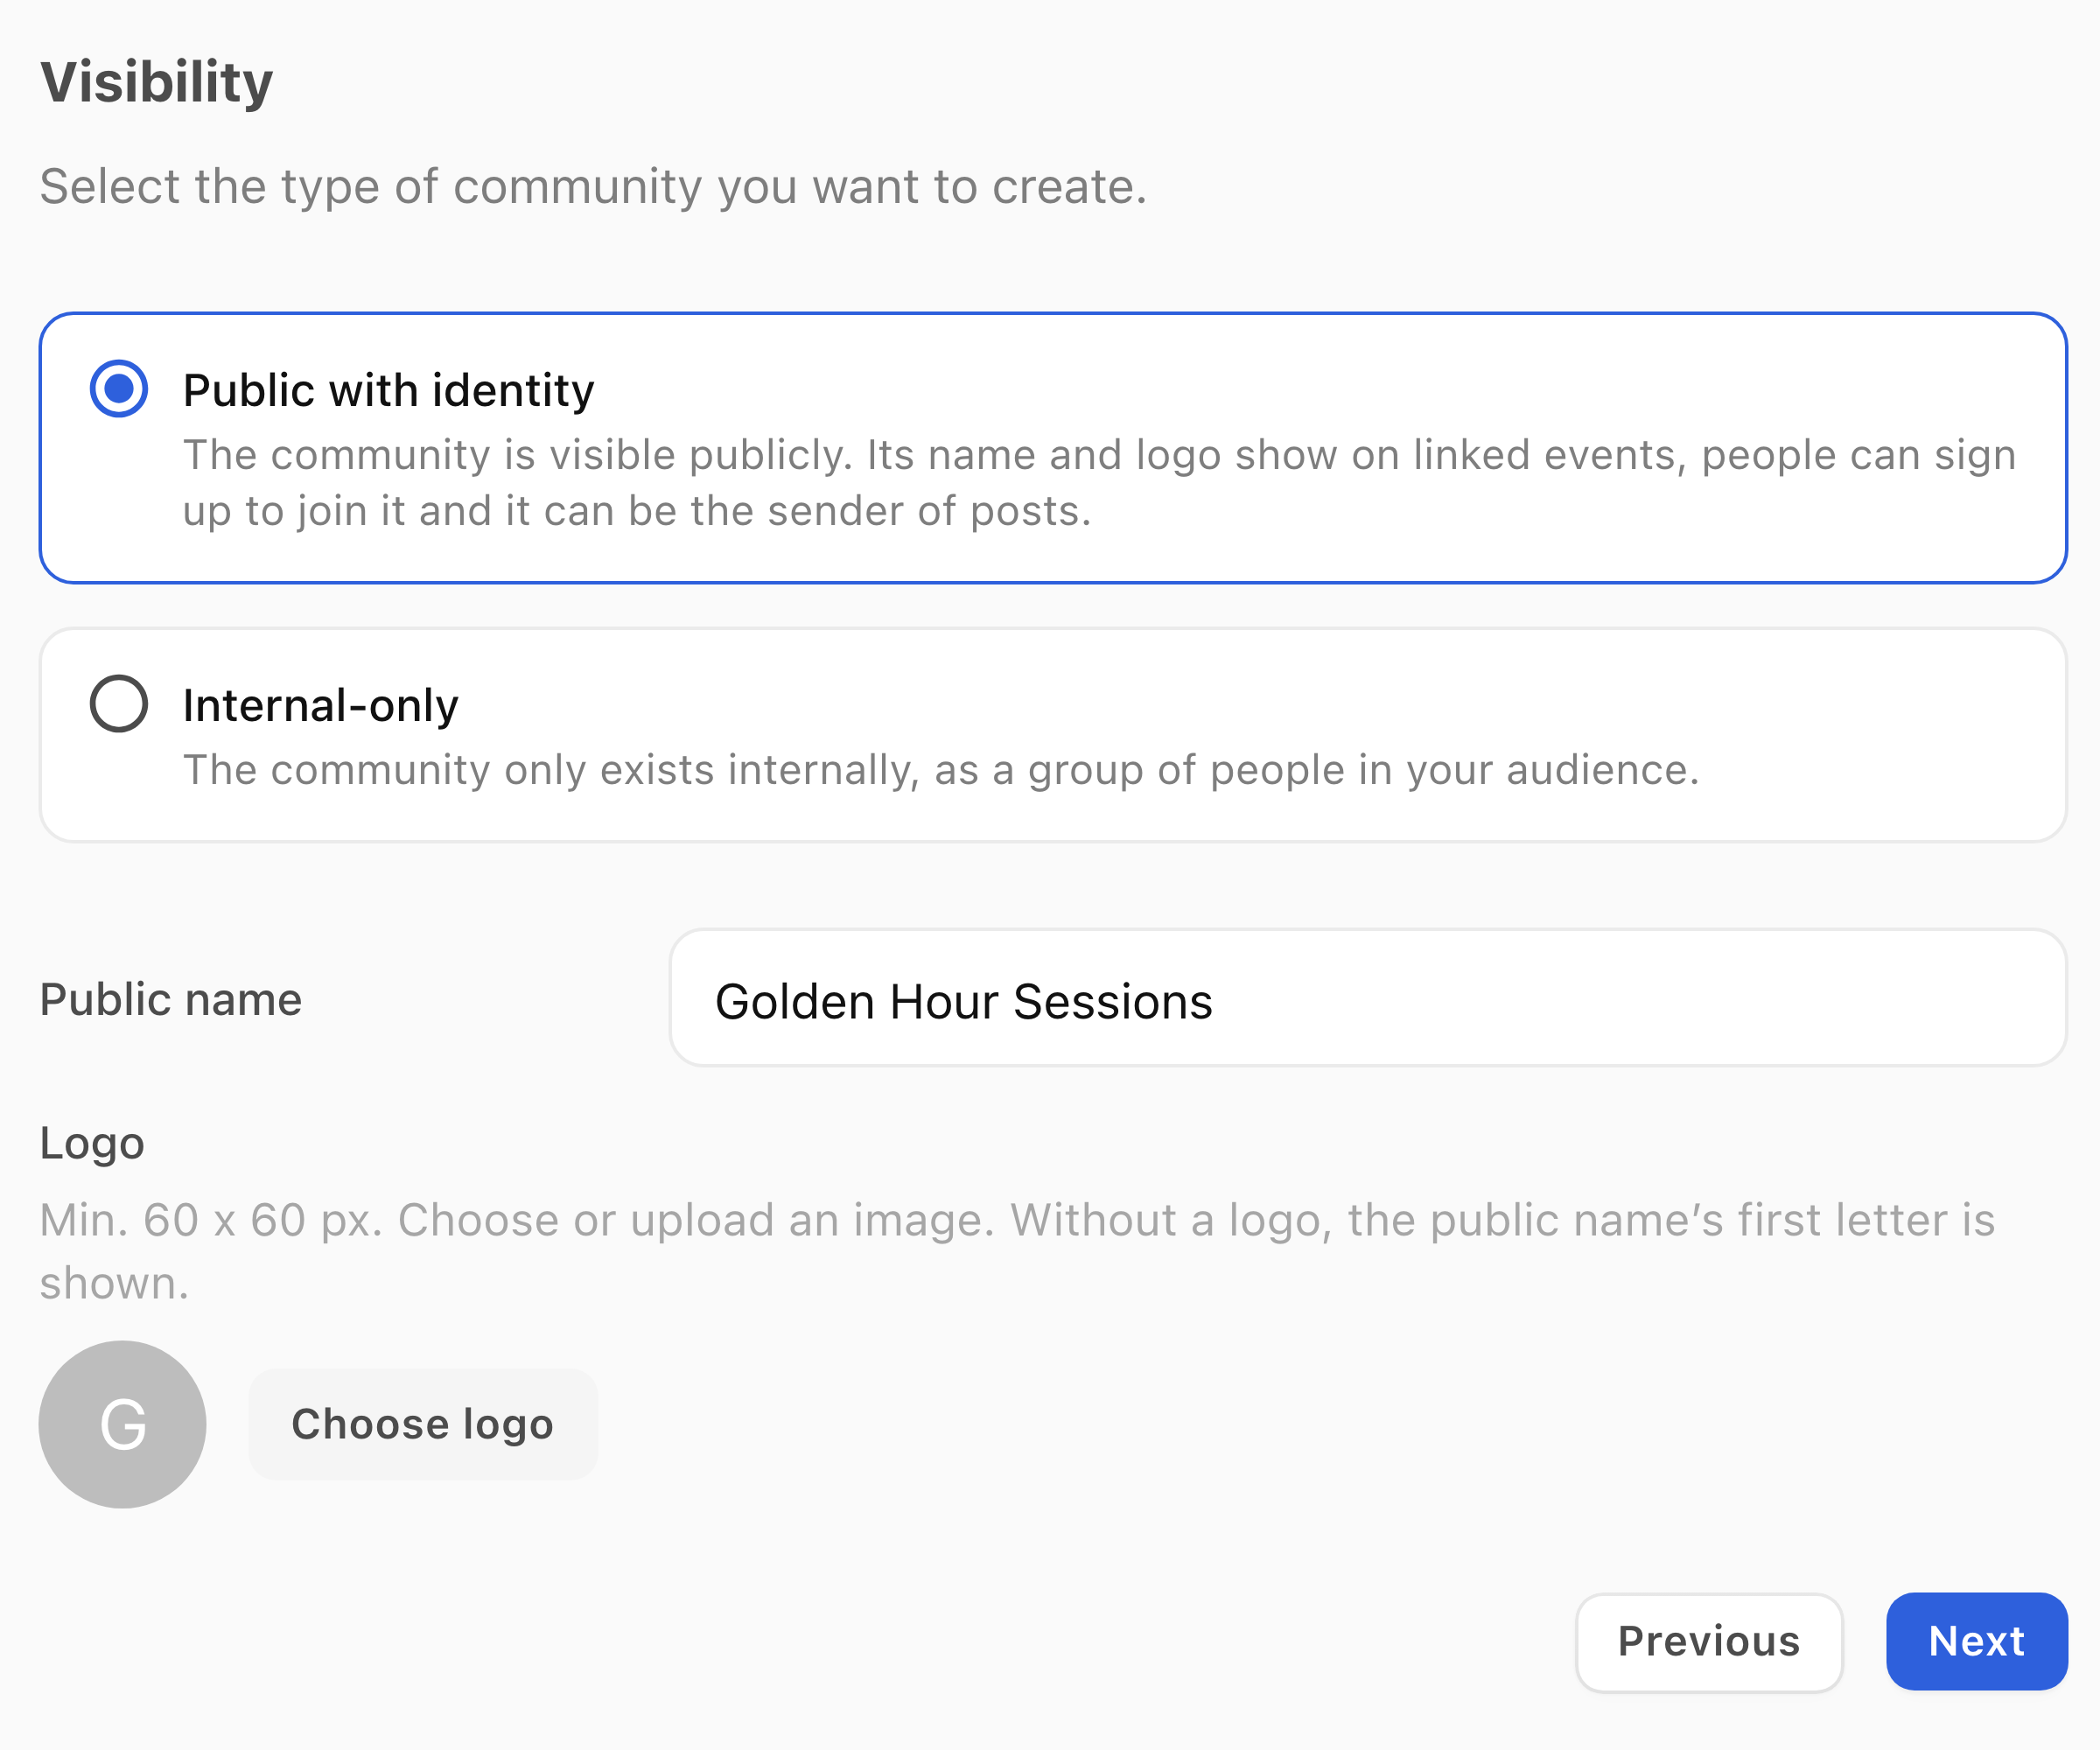
Creating the community does not choose its events:
- Open its saved page and select Add.
- Choose Event audience, select the related events and select Next.
- Review the people and any subscription choices. Complete the open choices before confirming with Add people.
- Check the community's Events and People counts afterwards.
Memberships
A membership lets people join an ongoing group that you can use for access. For example, you can select an existing member group when setting up a quest or member sale. A Community groups related audiences; a membership identifies the people who have joined that member group.
Creating a membership does not create a quest or ticket sale. Choose the group separately when setting up access to those features.
- Open Audience → Memberships and select New membership, or Create member group on an empty list.
- In Details, enter a Name and optional Description, choose a dashboard Colour, then select Next.
- In Access, choose Membership visibility. Link only keeps the group unlisted; Public lists it on your community page.
- Review WhatsApp updates, Send confirmation to people who join and the selected confirmation channels. Open Customise form to review the questions and Require approval.
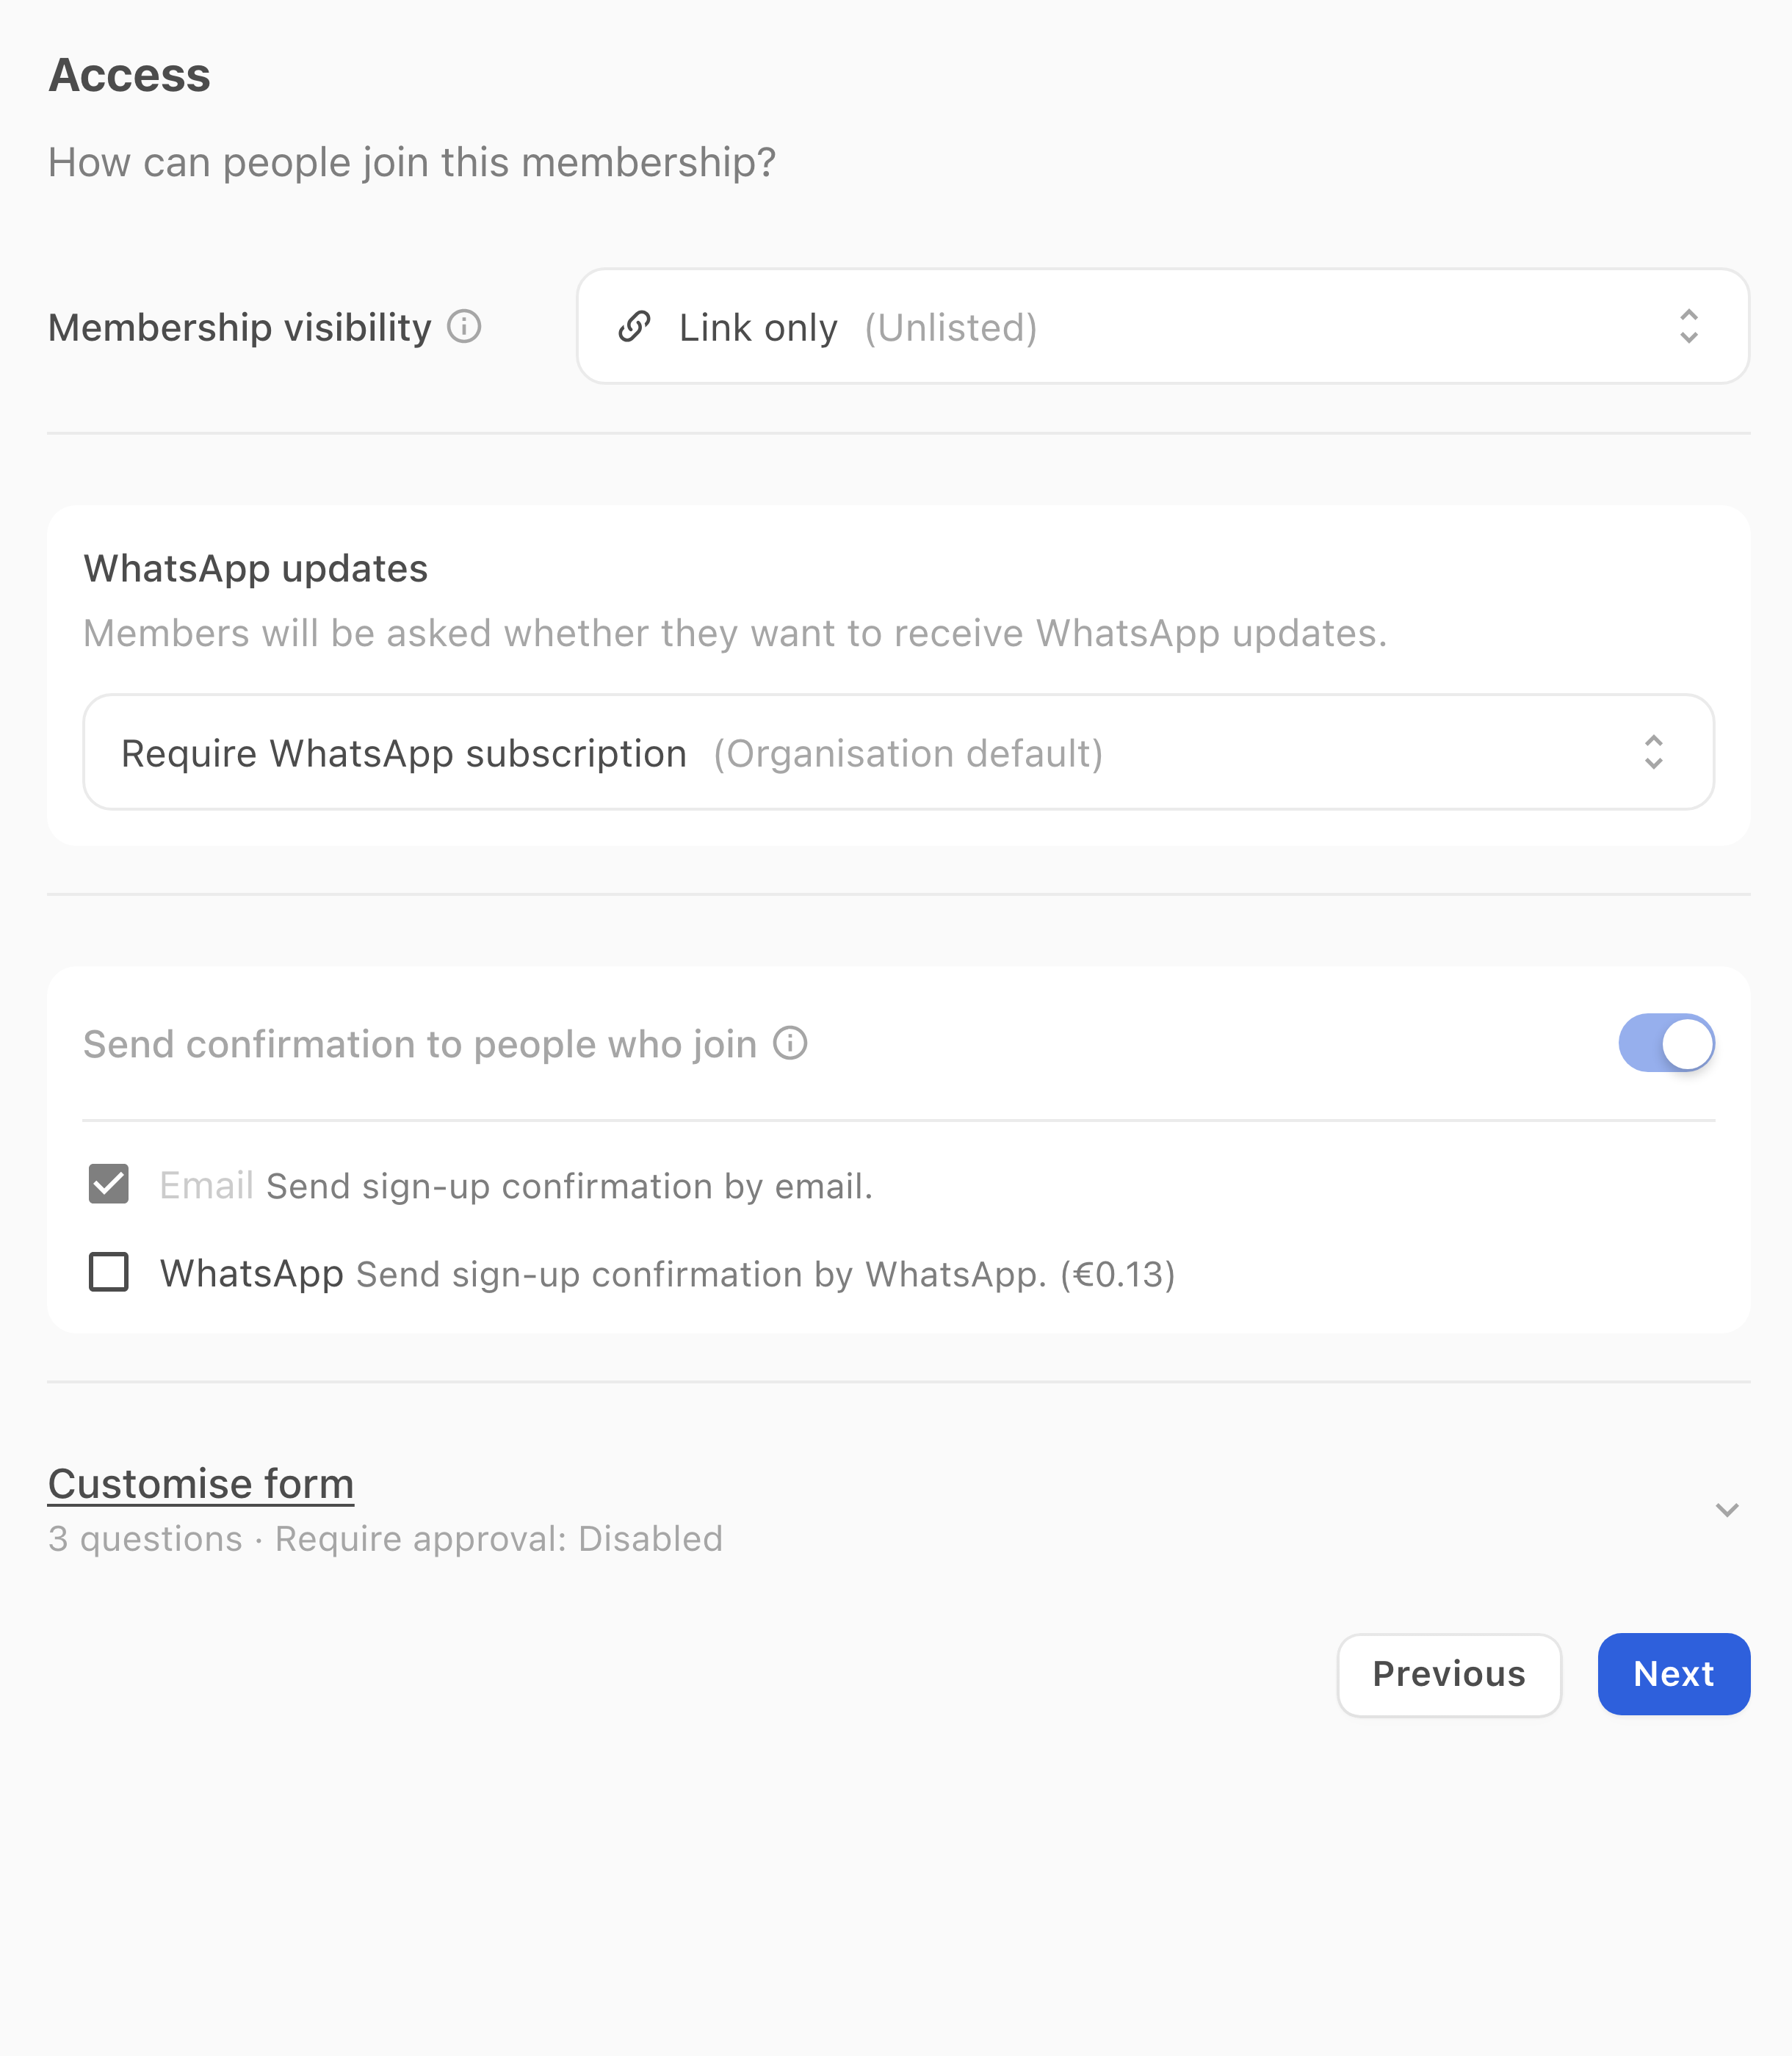
- Select Next, check Review and select Create when ready.
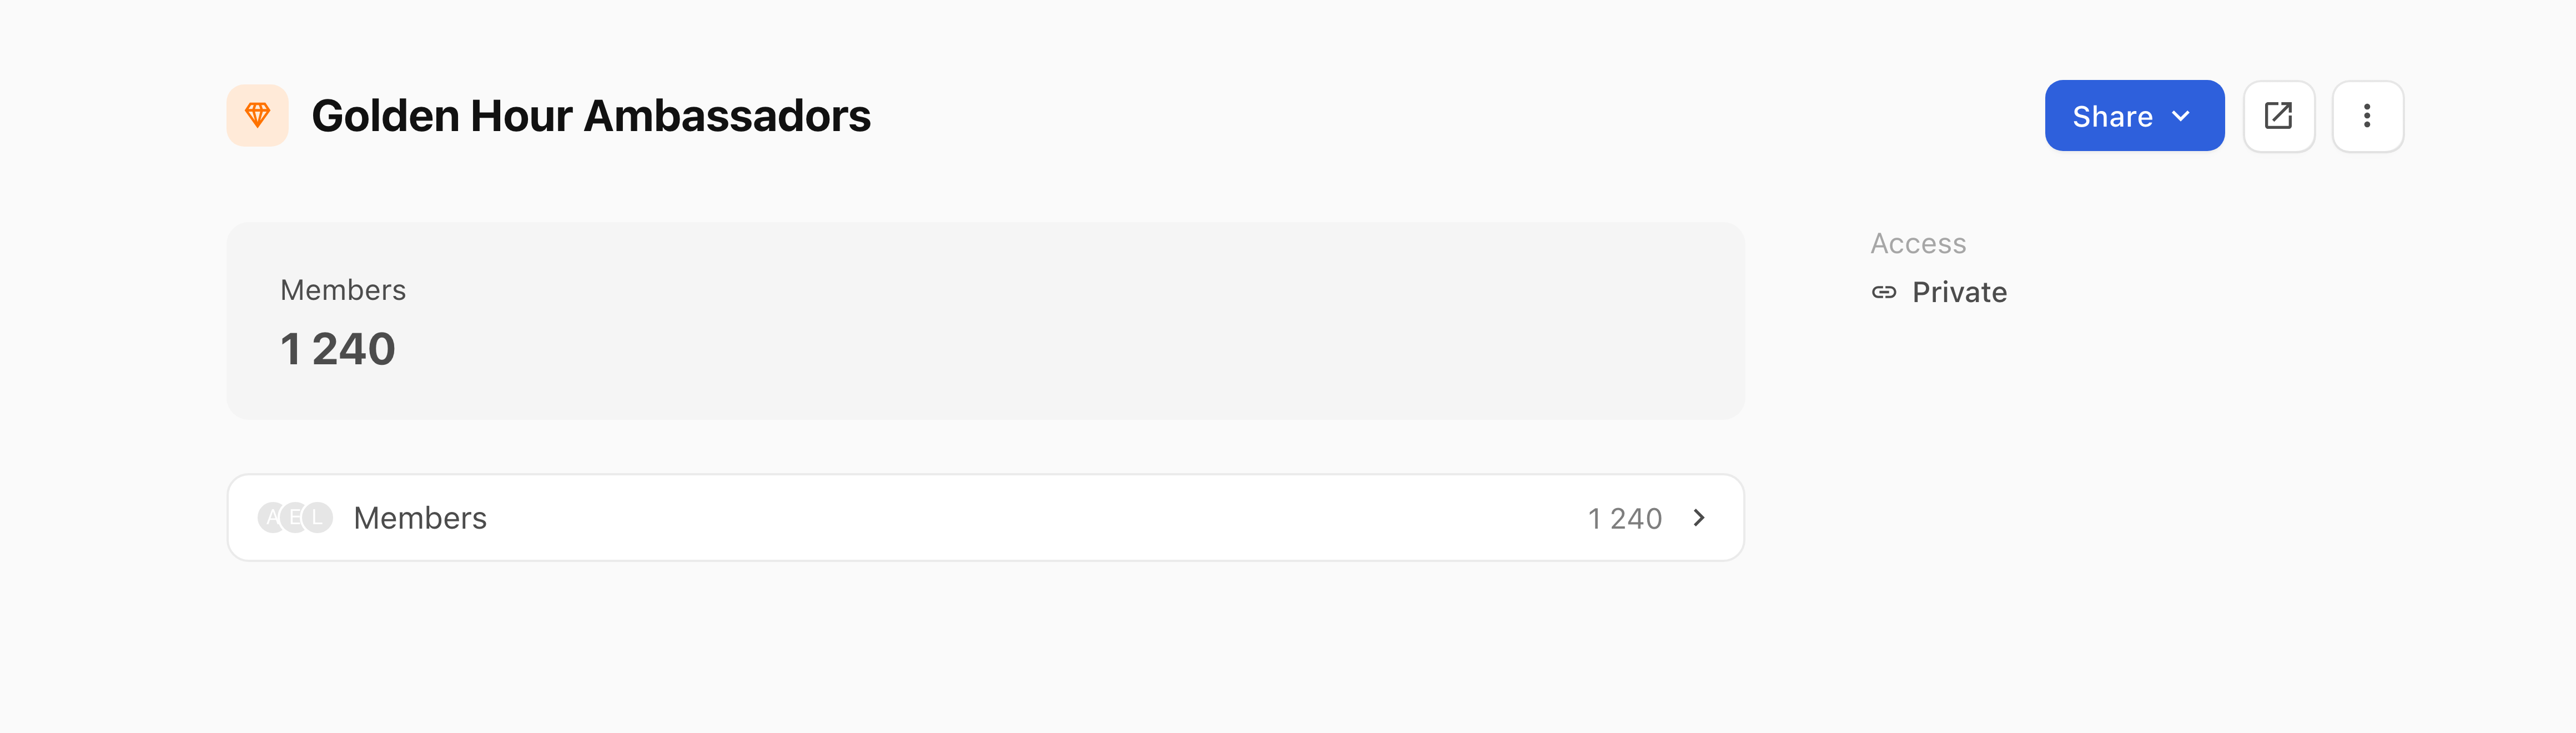
- Open the saved group in Memberships. Check its Members count and use Share when you are ready to invite people to join.
A membership controls member access. It does not replace checking the recipients and subscription requirements when sending an update.
Choose a next step
- For an event announcement, publish a post.
- For ticket availability, choose how people get ticket access.
- For participation tasks or points rewards, use quests, points and rewards.
If you cannot find the right audience or access setting, contact support with the organisation, the group or event, and the step reached. Do not include a full contact export or private access links.