Events and ticket sales
Understand events, ticket types and ticket sales, then create an event and share its page.
Start with an event: the page people visit for the date, location and event details. Choose ticketed entry or RSVP, then decide how people can register.
Start with your usual ticket provider
BASH helps you manage access for your community alongside your normal ticketing setup. Connect a supported ticket provider first. If your provider is not listed, contact support to request an integration and ask whether one is planned.
Ticketing and audience sync are separate choices. Connecting a provider for an event does not by itself make every ticket holder an email or WhatsApp subscriber. To add provider ticket-holder history to Audience, follow Sync a ticket provider audience.
For example, you can keep an event with its connected provider while setting up a presale or giving a member group access to a specific sale, without moving the whole event's ticketing to BASH.
If connecting your provider is not possible, selling directly through BASH is the fallback for the tickets you want to offer your community. Agree how those attendees will enter the event before opening the sale. You can export attendee data for your provider to process, subject to its import requirements, or check in BASH-issued tickets through BASH.
An attendee export does not include transferable ticket barcodes. Confirm the import, ticket-issuing and scanning arrangements with your provider; there is no automatic transfer of BASH tickets into every provider. See Choose your ticketing setup and Plan check-in for community tickets.
How events and tickets fit together
| Part | What it controls | Example |
|---|---|---|
| Event | The event page, date, location, visibility and entry method. | A recurring event with its own date, location and entry method. |
| Ticket type | An admission option with its own price, stock and settings. Find these under Tickets. | Free admission and Workshop admission. |
| Ticket sale | Which tickets an audience can obtain and when. A ticket can appear in several sales, with shared stock. | Regular tickets on the event page, or a member sale for an existing member group. |
Use Tickets for free or paid ticketed admission. Choose RSVP when people should respond to an invitation without obtaining a ticket. An RSVP event does not need a ticket catalogue or ticket sale.
Event visibility and sale access are separate decisions. Making an event public does not give everyone access to a members-only sale. Sharing a link does not remove a sale's access rules.
Enter the event details
You need permission to create events for your organisation. Have the event name, date and location ready.
- Open your organisation dashboard and select Create → Event.
- In Event details, enter the event title and description.
- Set Location, Date and the start time. Check the time zone beside Date. Use Add end date if you want to show an end time.
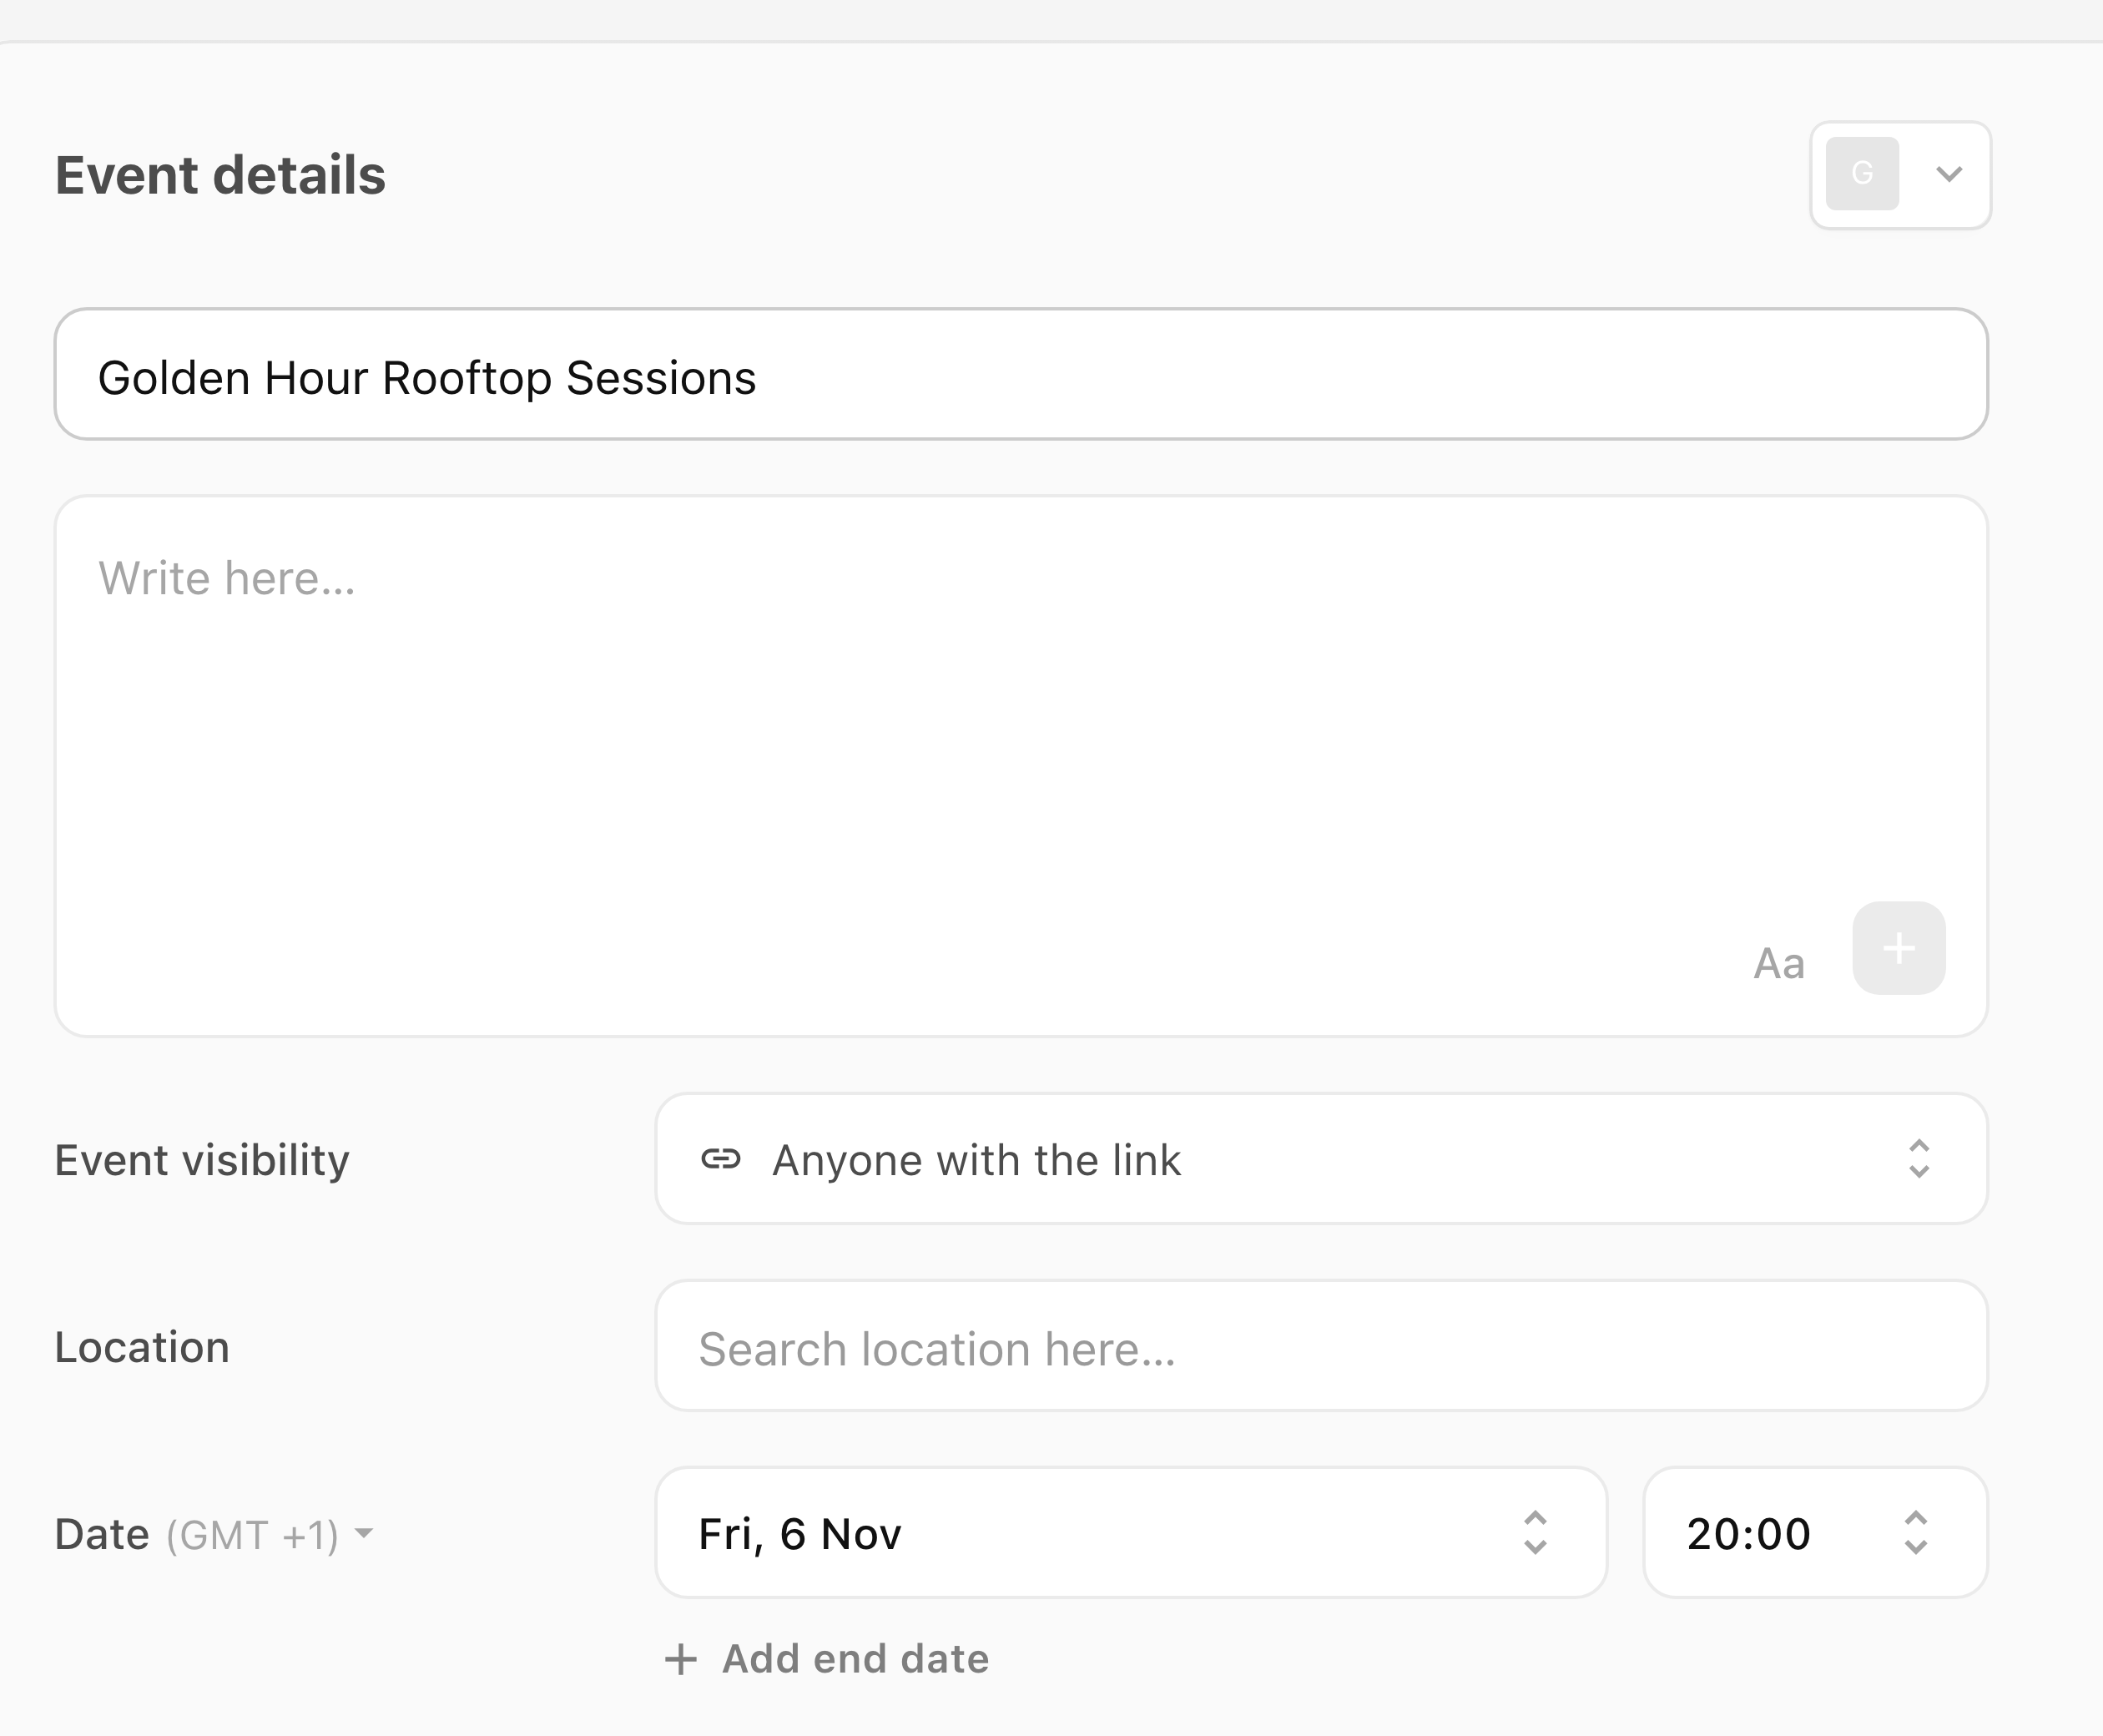
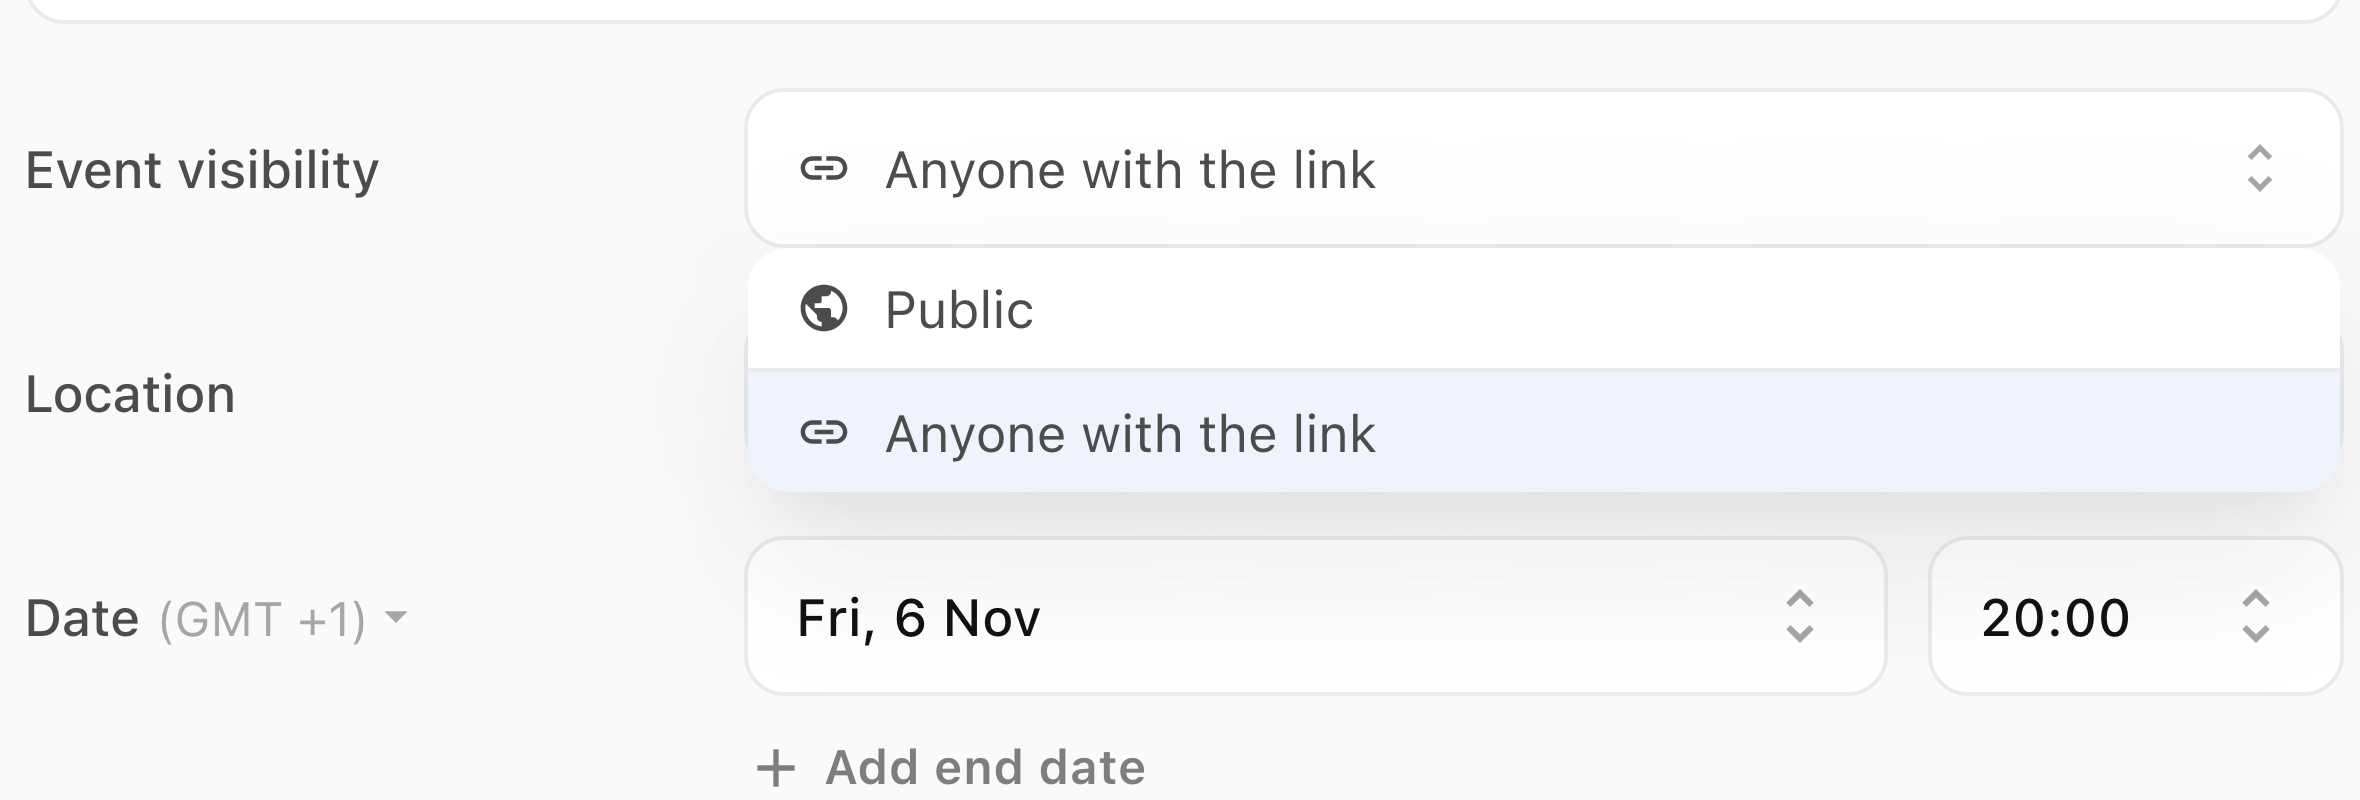
- Set Event visibility to Public or Anyone with the link. Use the link option for an unlisted event you plan to share directly.
- Add event media or adjust Page appearance if needed, then select Next.
Choose how people enter
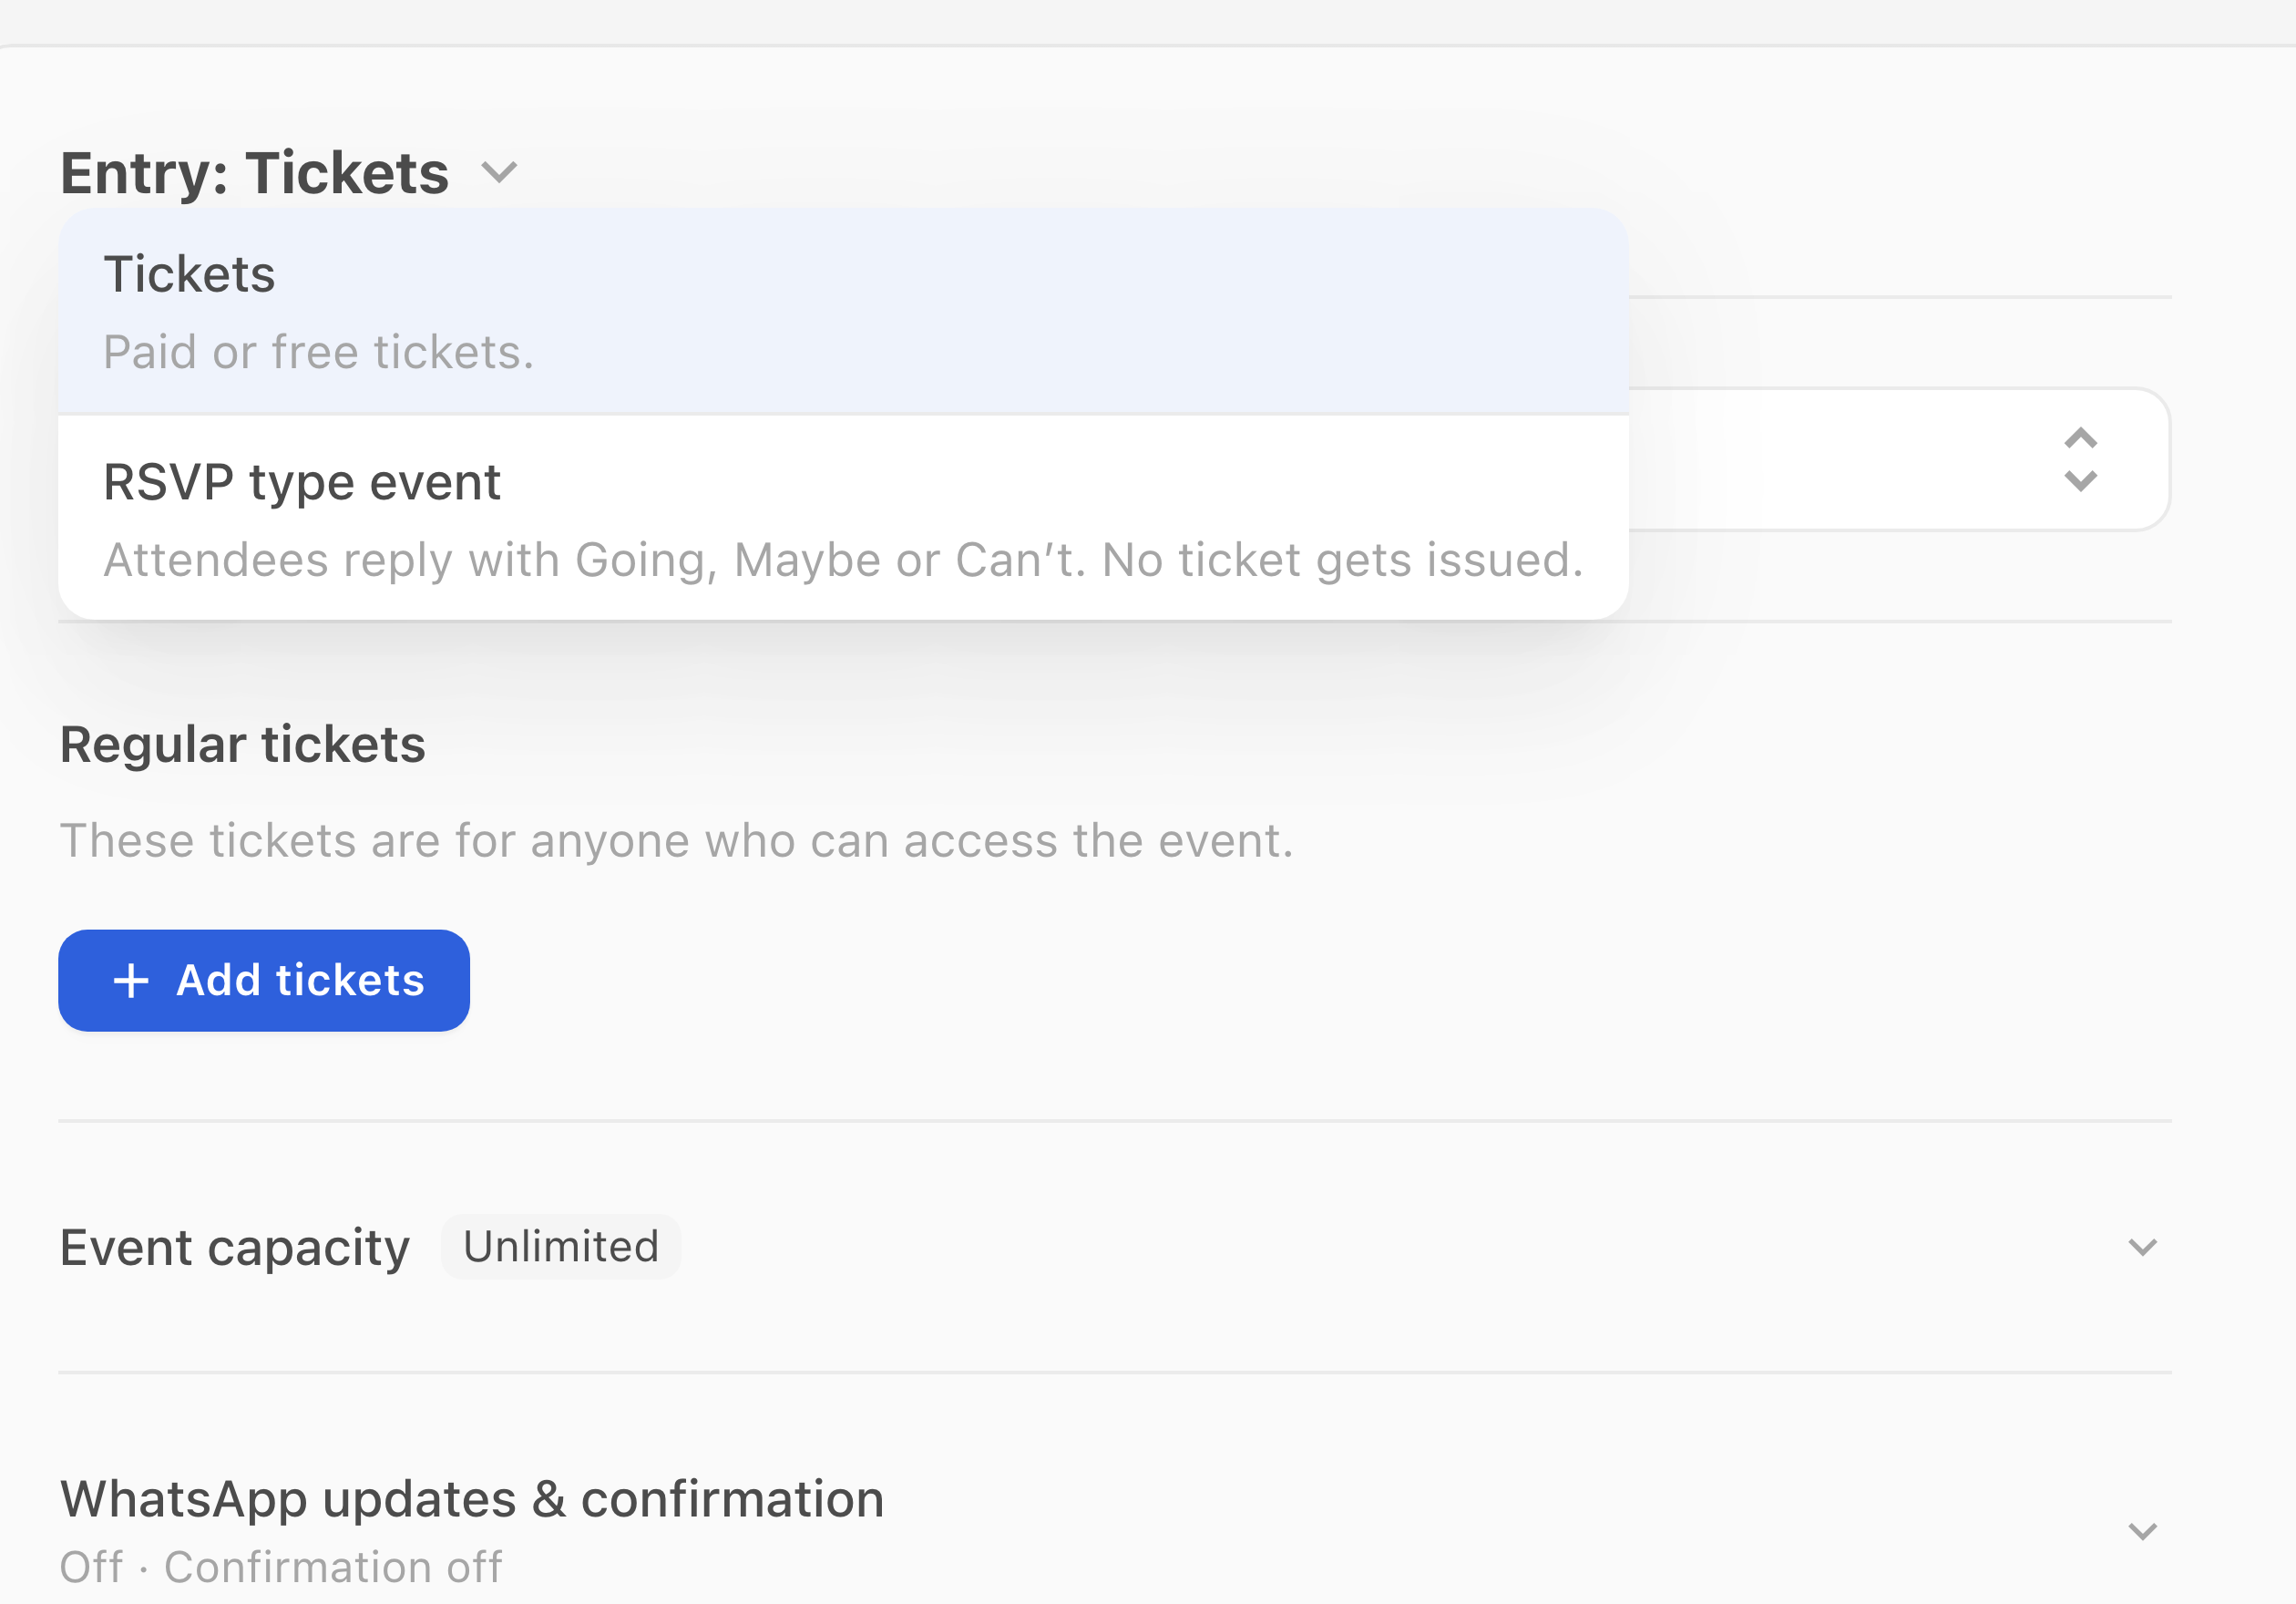
- Open the Entry: Tickets menu and choose Tickets or RSVP type event.
- For ticketed entry, check the ticket provider and select Add tickets to configure admission. If the tickets are not ready, select Set up tickets later to continue without them.
- For RSVP, review the registration settings, then select Next.
If you defer ticket setup, attendees cannot obtain tickets until you configure them and make them available in a sale. Connect your supported provider first. If you need the community-ticket fallback, follow Sell tickets directly through BASH for its ticket fields and saving steps.
Review and create the event
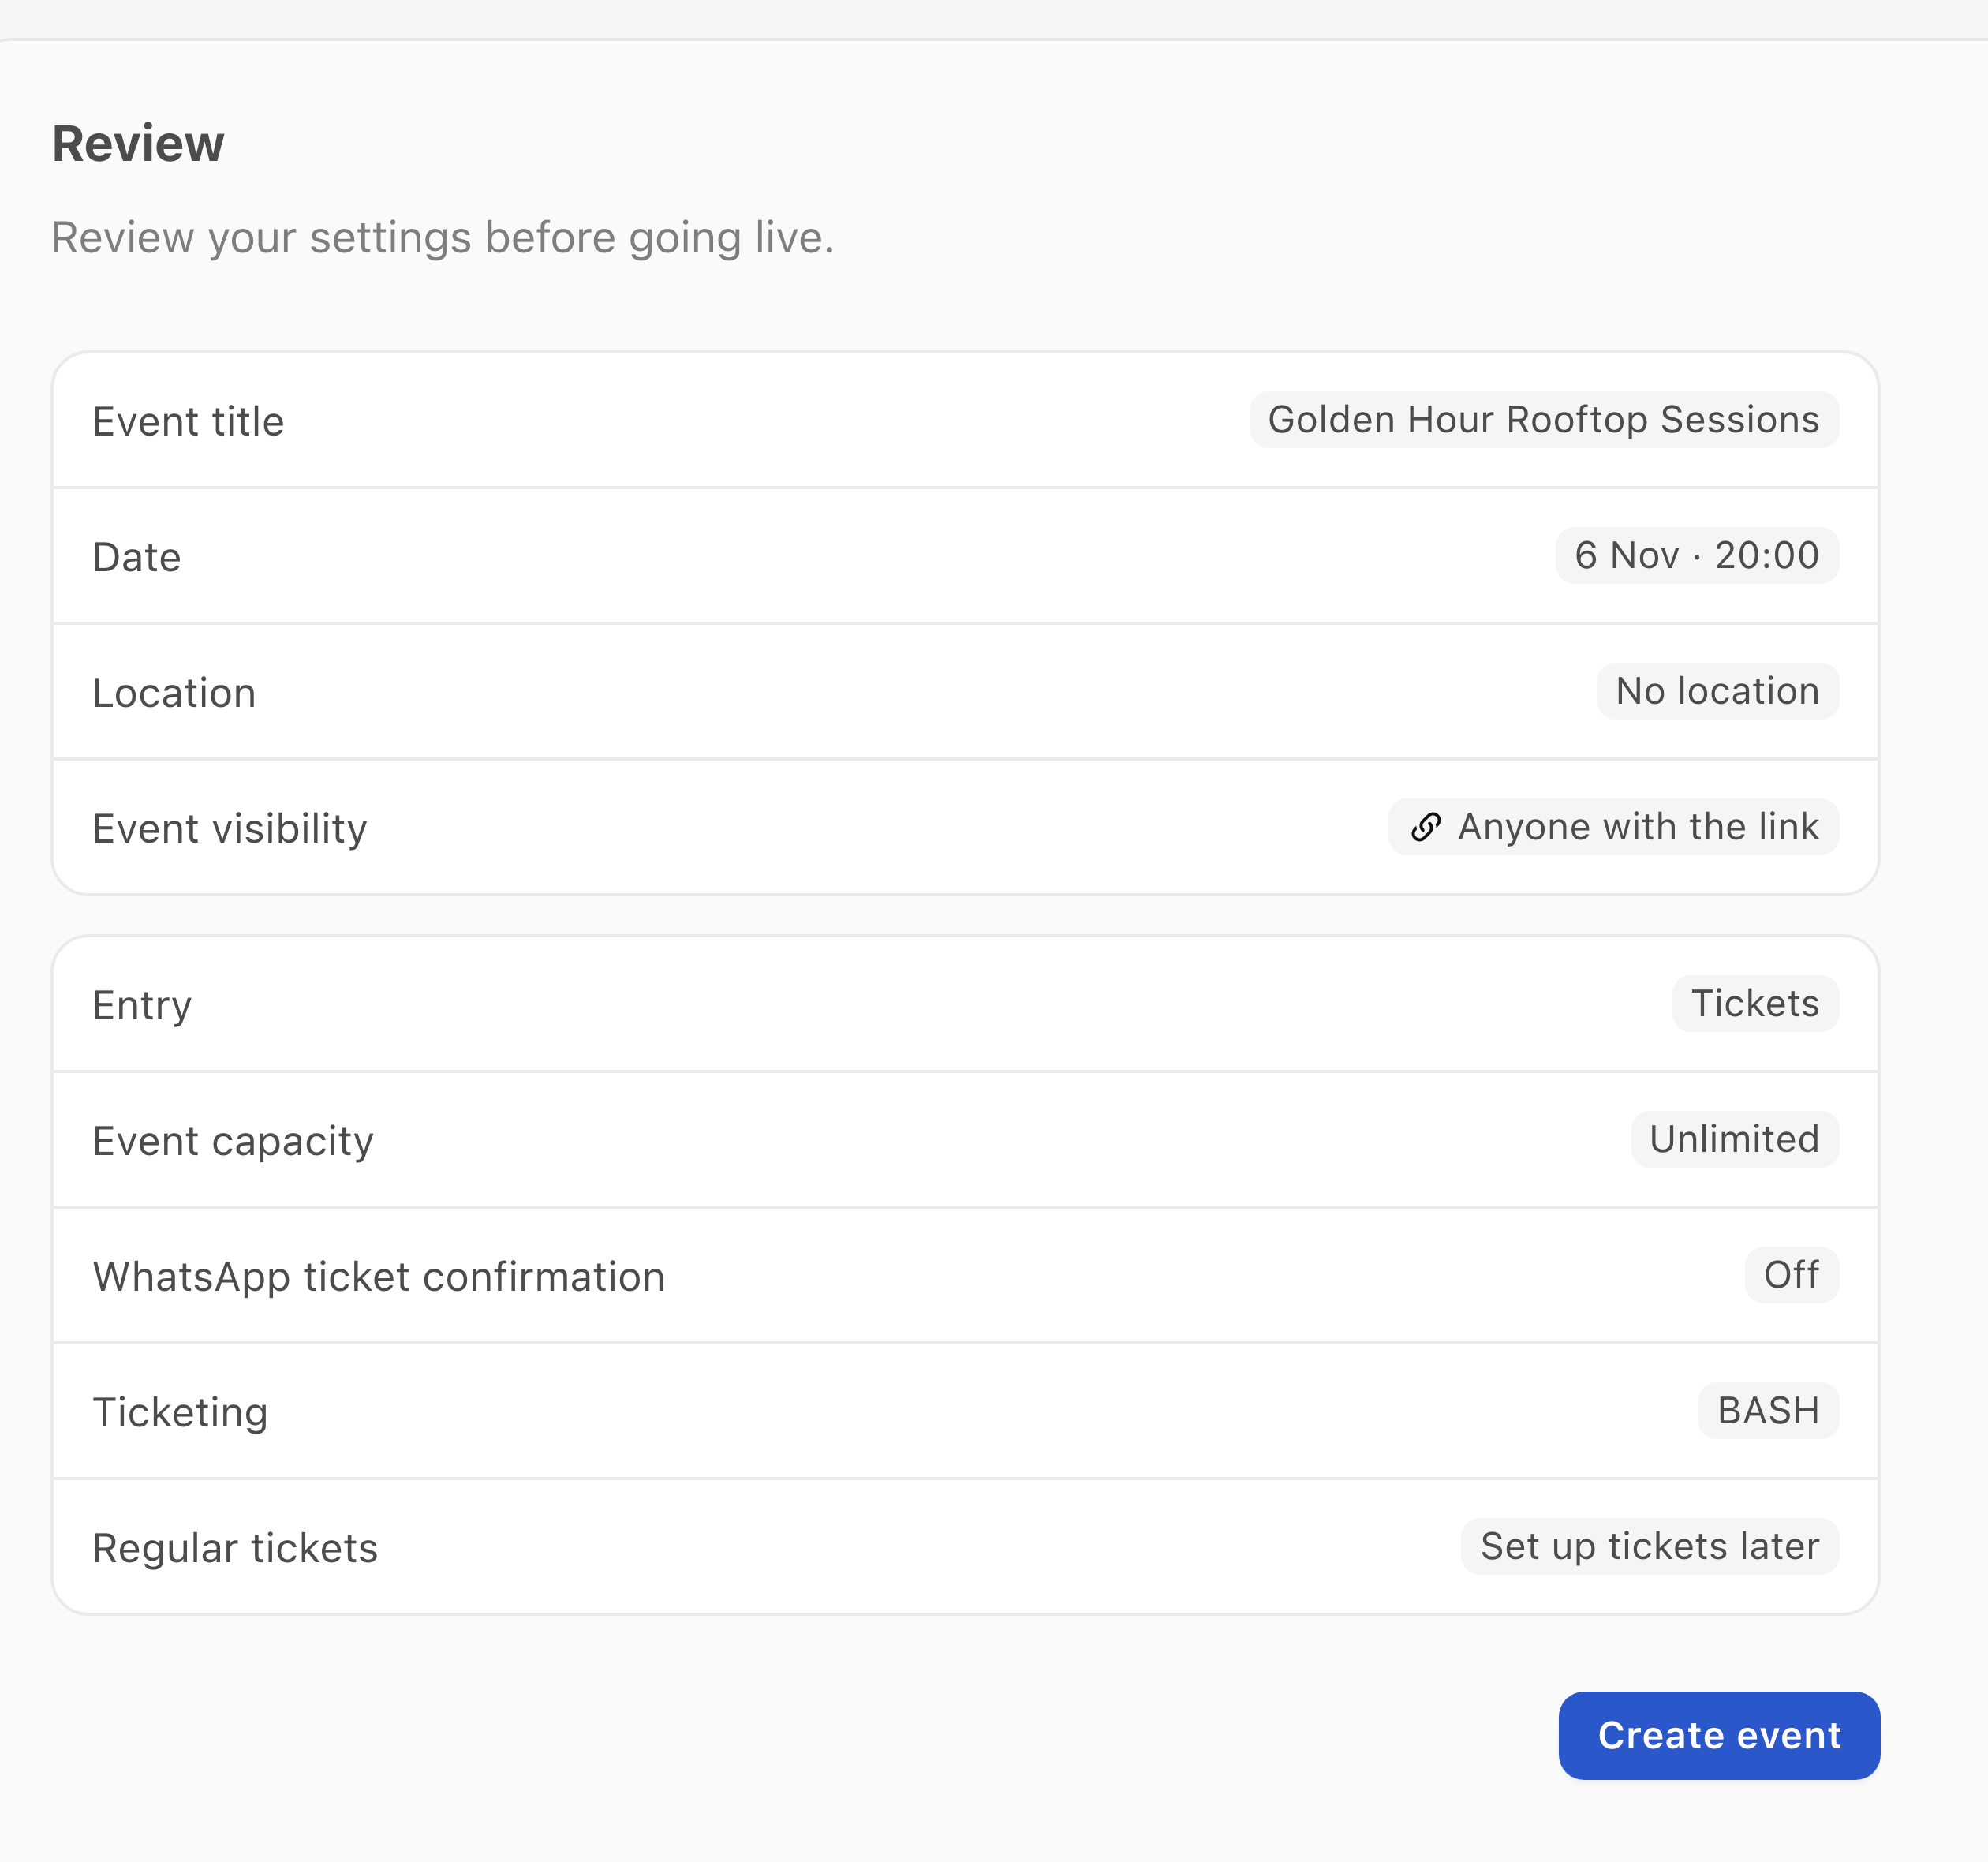
- In Review, check the title, date, location, visibility and entry settings. Select Change beside a row that needs correcting.
- Check Regular tickets. In this example, Set up tickets later means the event has no tickets ready to offer.
- When the details are ready to go live, select Create event.
- Check the saved event's Overview and open its attendee page to review what people can see.
Share the saved event
- Open the saved event's Overview and select Share.
- Select Copy event page link to copy the event link for sharing.
- Check the page and its ticket availability before sending the link to attendees.
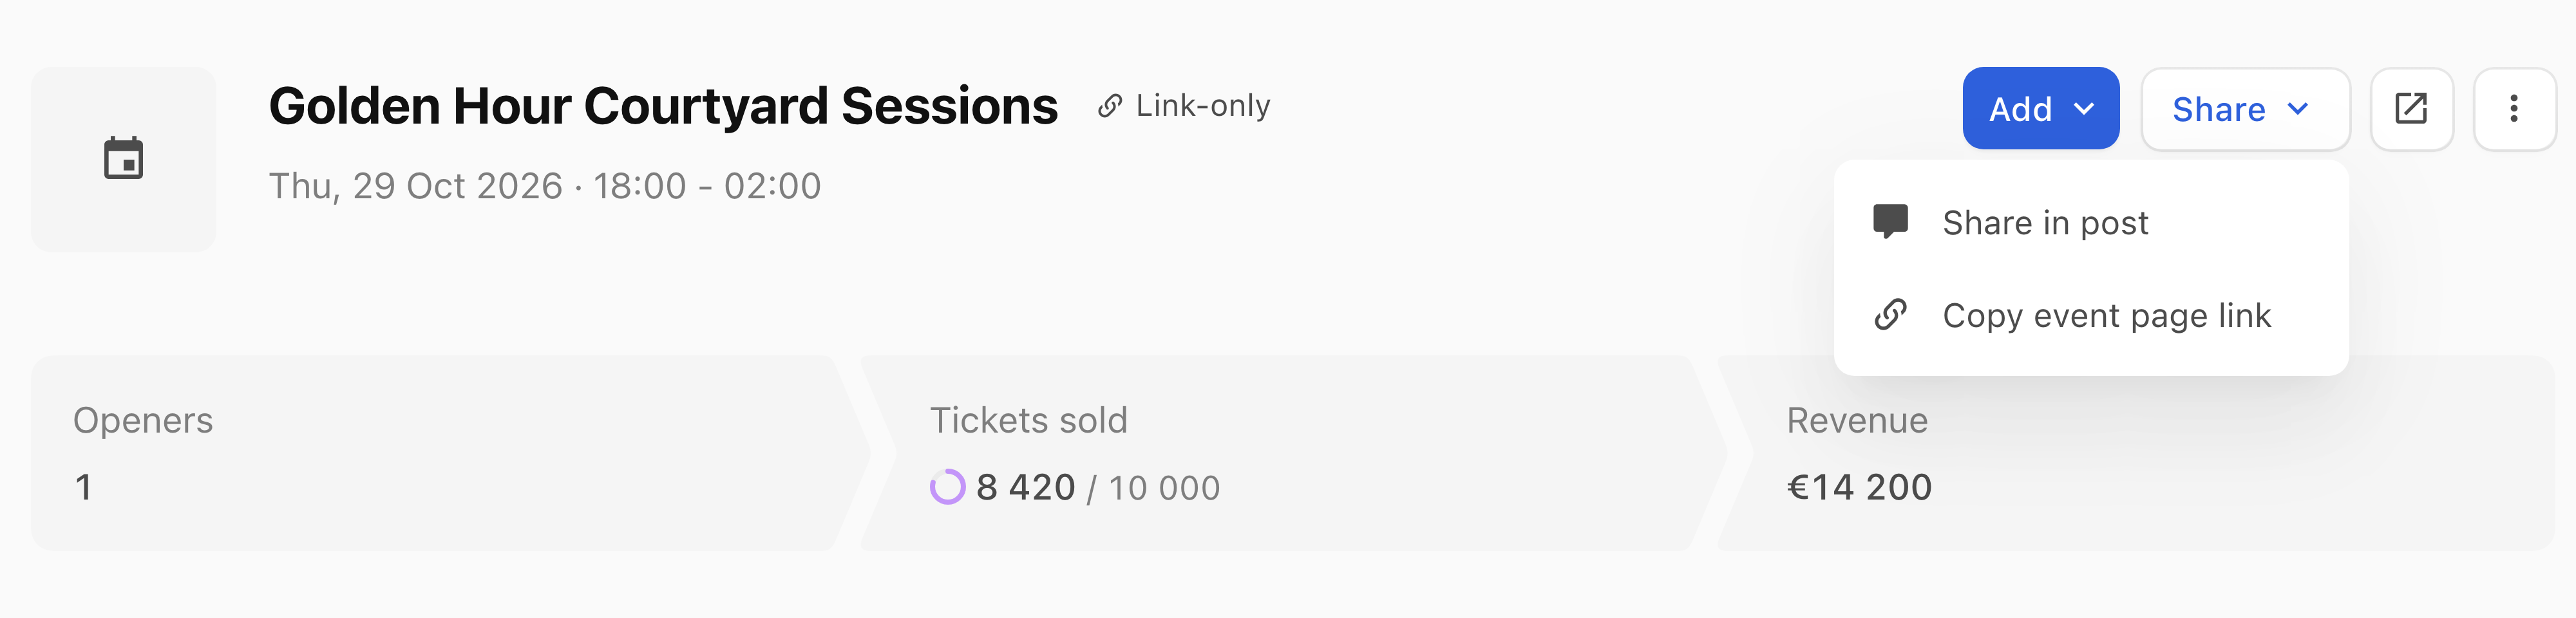
To announce it in a post, select Share in post and review the post's content, audience and delivery settings before publishing. See Publish a post.
If people cannot get tickets
- Open Tickets and check that the intended ticket belongs to a sale.
- Open Ticket sales and check that sale's dates, stock and access rules.
- If you used Set up tickets later, complete ticket setup before sharing a ticket purchase invitation.
For an event or control you cannot find, check the selected organisation and ask its administrator to confirm your access. If the problem remains, use Need more help? Message support below this article and include the event name and the exact message shown, without private ticket links or attendee details.