Create private ticket access
Use a custom sale to give selected people access to event tickets.
Use a Custom sale to give selected people access to event tickets. You can also make an unlisted sale available to anyone with its link.
Before you start
You need an event, permission to manage its ticket sales and the intended recipients available in your organisation's audience. Choose where the event's tickets are managed before adding tickets. See Sell tickets for your event.
Choose who gets access
- Open the event from Events, then open Ticket sales.
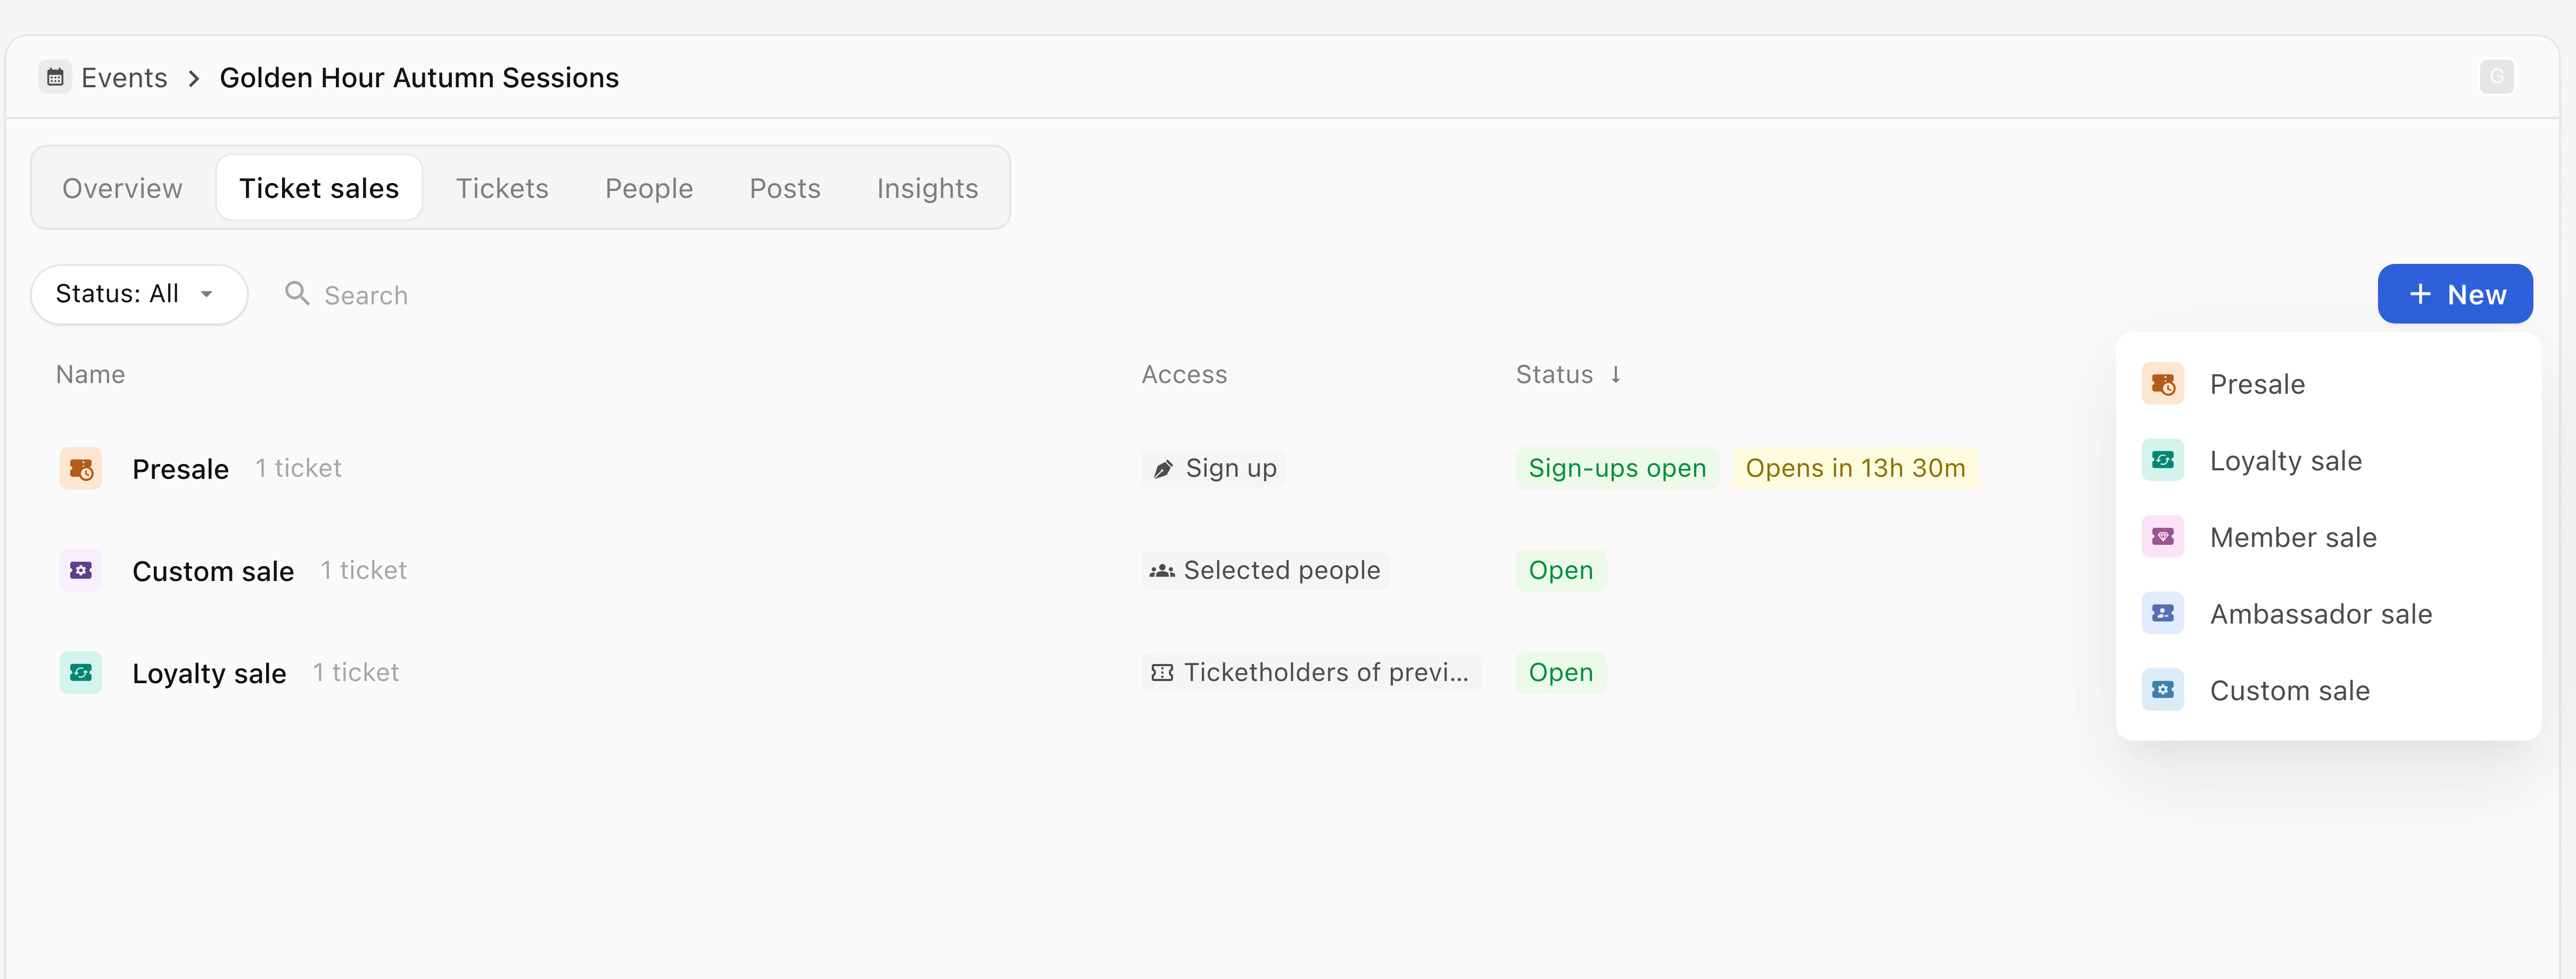
- Select New, or Create ticket sale if this is the first sale.
- Choose Custom sale from the dropdown for this event.
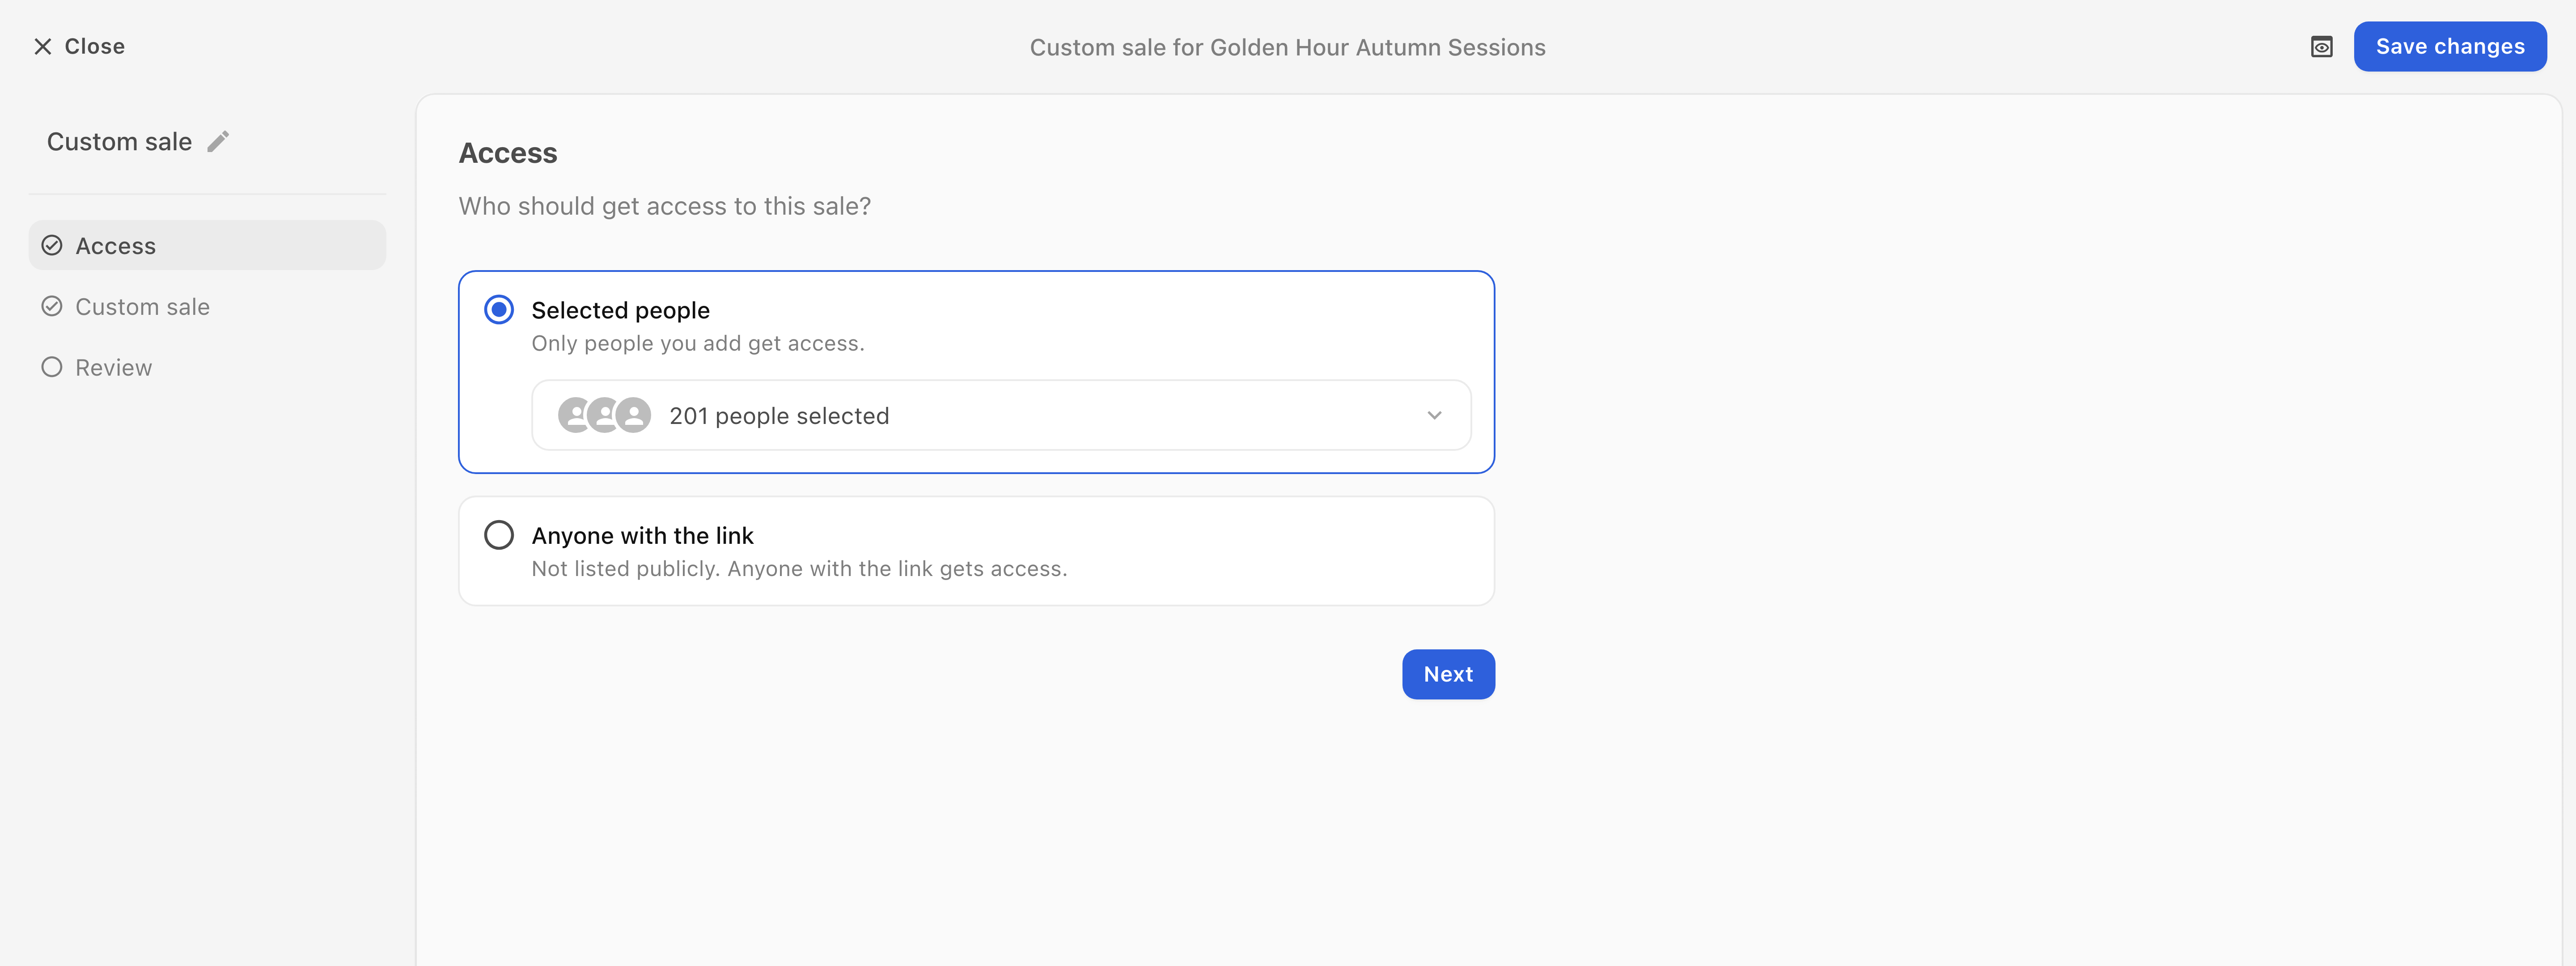
- In Access, keep Selected people and open Select people….
- In Select recipients, use Search events, groups, people... to find and select your recipients or audience.
- Check the selection and choose Done.
- Check the count shown in Access, then select Next.
Anyone with the link is the alternative when everyone holding the sale link should have access. That sale is unlisted; the link still grants access to whoever receives it.
Add tickets, dates and messages
- In Tickets, enter the Sale title.
- Use Add ticket to create a ticket or Select ticket to choose an existing event ticket. Finish the editor with Add ticket, or the selector with Done.
- Check Personal plus ones and WhatsApp updates at checkout, then select Next.
- In Availability date, check Opens, Closes and Visible from. On save opens the sale when you create it.
- Select Next to open Messages.
- Choose the Email and WhatsApp channels for sending access, then check When? and the eligible recipient counts.
- Open Reminder settings and check the closing reminder's channels and timing. Turn off both channels for each message you do not want to send.
- Select Next to open Review. Check Access, Tickets, Personal plus ones and the timeline. Use the relevant Change control to correct a setting.
- Check the final button and message settings. Creating the sale grants the configured access and activates its schedule. Enabled access messages and reminders follow those settings. A final button containing and send link and a recipient count also sends access messages to those recipients.
- Select Create sale when you are ready, or Save draft if you are not ready to activate it.
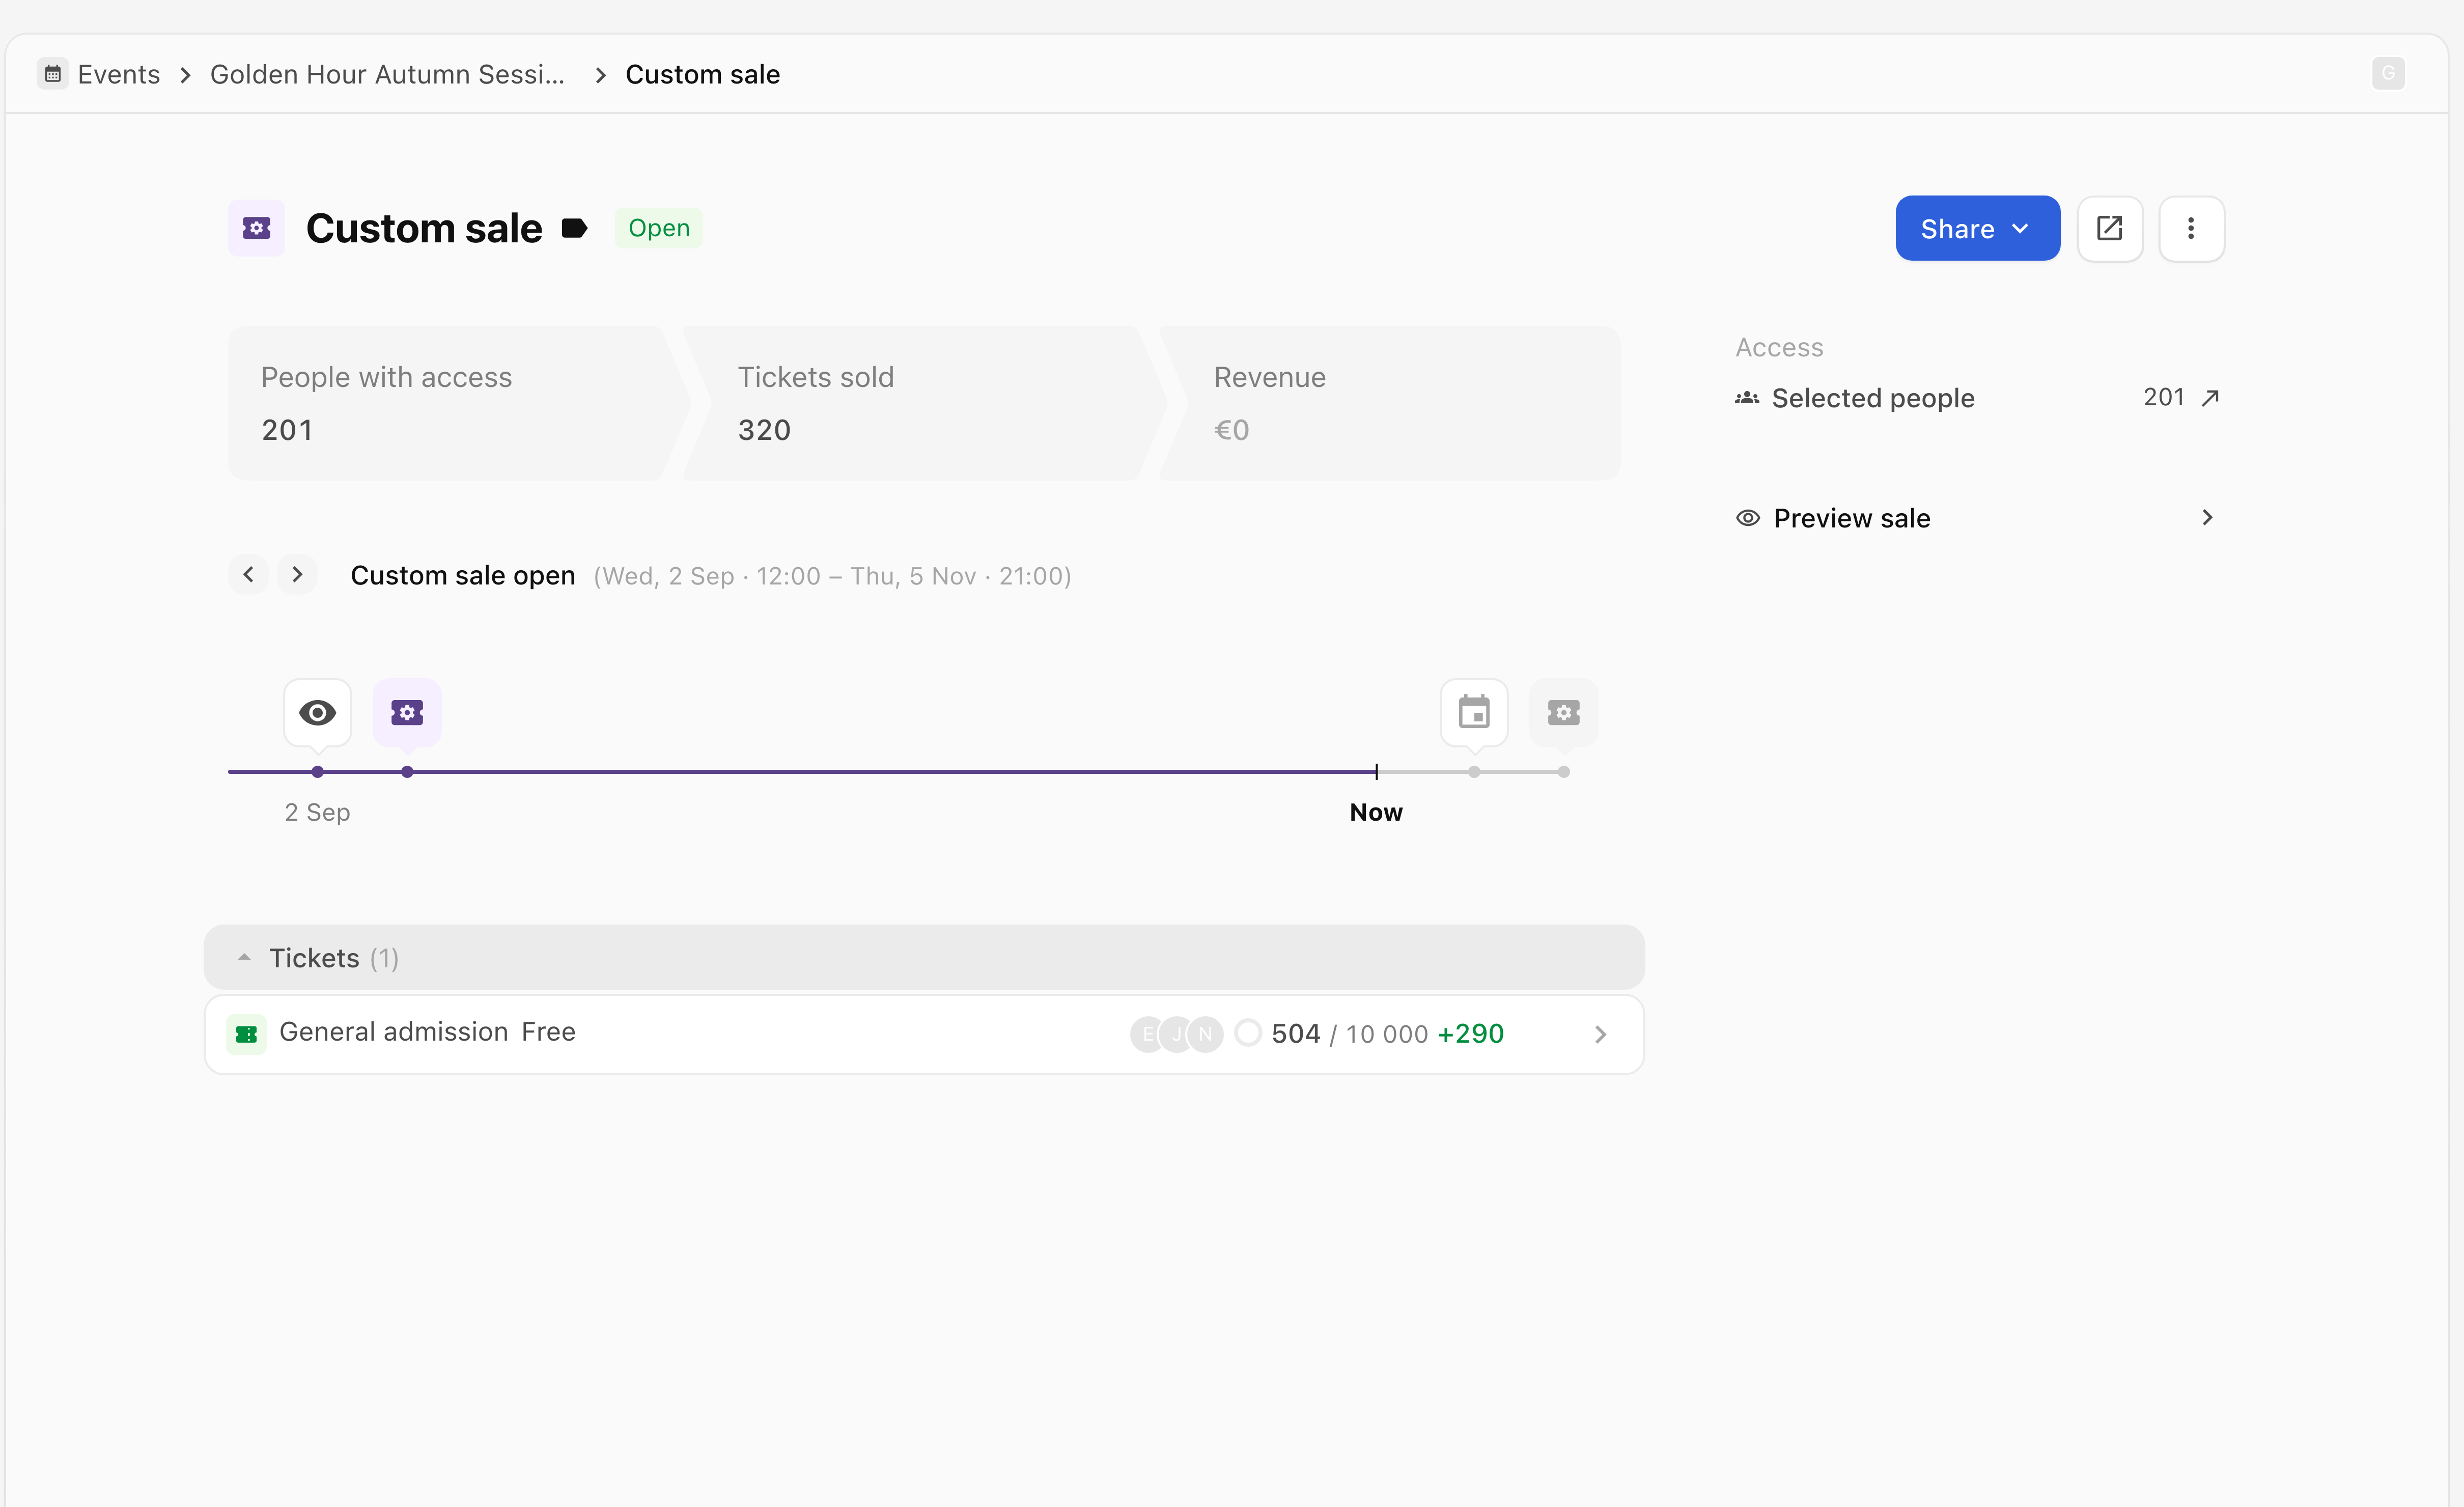
- On the saved sale's detail page, check Access. For a selected audience, it shows Selected people and the number of people with access. Check that count before distributing access.
Send preview sends a message to the chosen preview recipients.
If access or sending does not work
- Next is disabled in Access: the recipient selection must be completed with Done and show a selected-person count. Follow the selection steps above.
- Next is disabled in Tickets: the ticket must be added or selected and its editor completed. The ticket steps above cover both options.
- A recipient cannot buy: check the sale's dates, ticket availability, stock and Personal plus ones.
- Access exists but a message did not arrive: check its channels and eligible counts before creating another sale. For WhatsApp, check the connection status.
Treat personal access links as private. For membership-based access, choose Member sale. For referral links, see Set up an ambassador sale.
Use Need more help? Message support below if you still need help. Include your organisation, event, sale name, step reached and error shown. Do not include personal access links or verification codes.